Lab 2 — Agentic Coding
Participants use Cloudera AI Workbench connected to Mistral Vibe to agentically code and deploy interactive data applications, such as a Streamlit Customer 360 dashboard, using local datasets and warehouse connections. This matters because it enables developers to rapidly translate complex data sources into fully functioning business analytics tools through natural language assistance.
For this lab you will be using Cloudera AI Workbench connected to Mistral Vibe to explore “Vibe” coding a Dashboard based on your data.
Using the Keycloak Login URL below, login to the CDP Interface using your CDP workshop username/password:
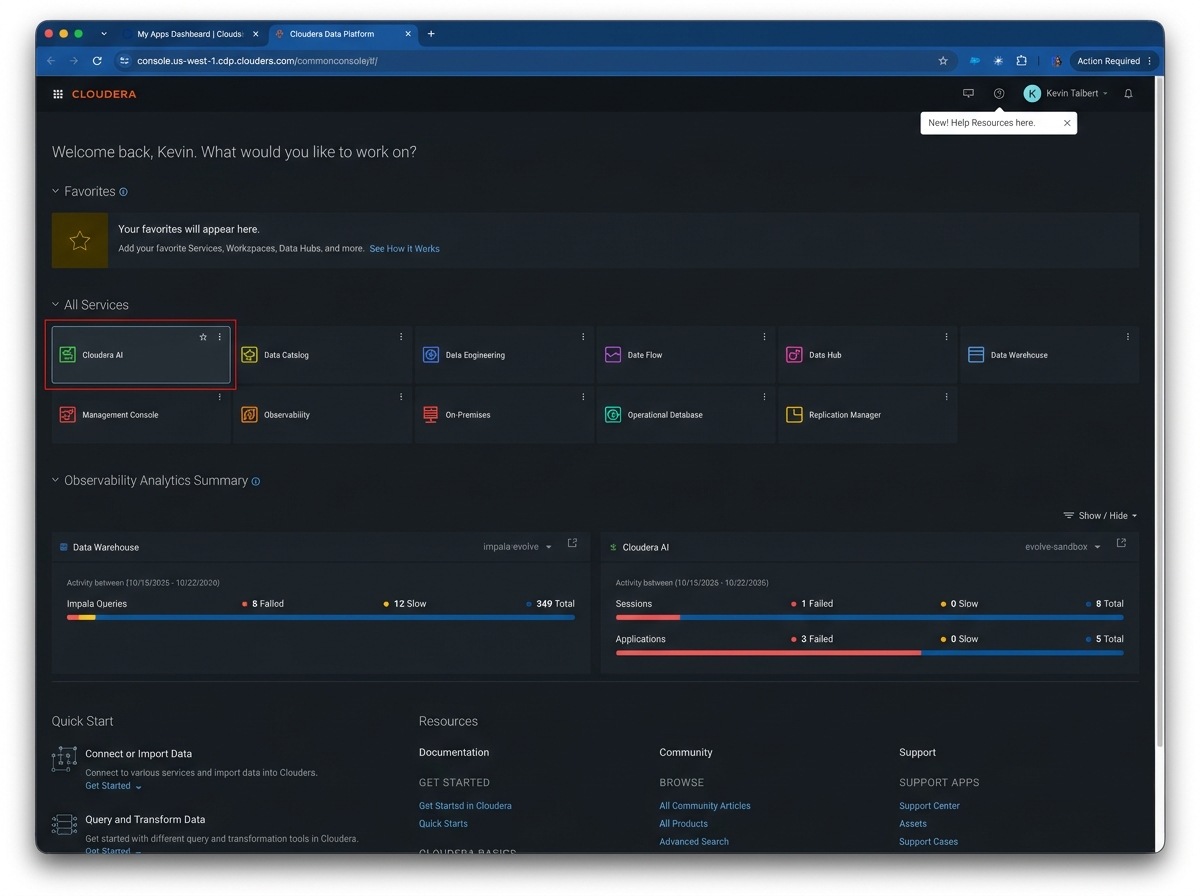
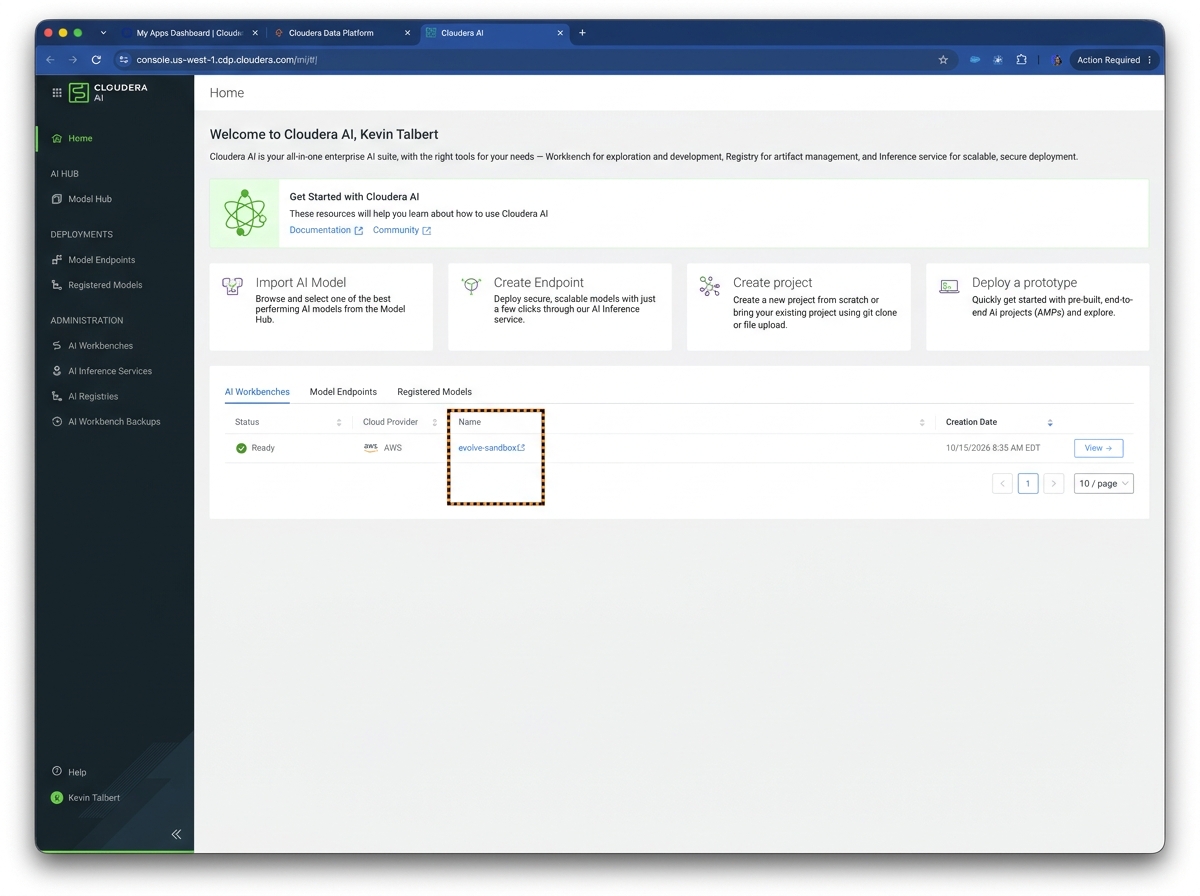
From the homepage, select Cloudera AI from the Services Available, then select the AI workbench from the available options:
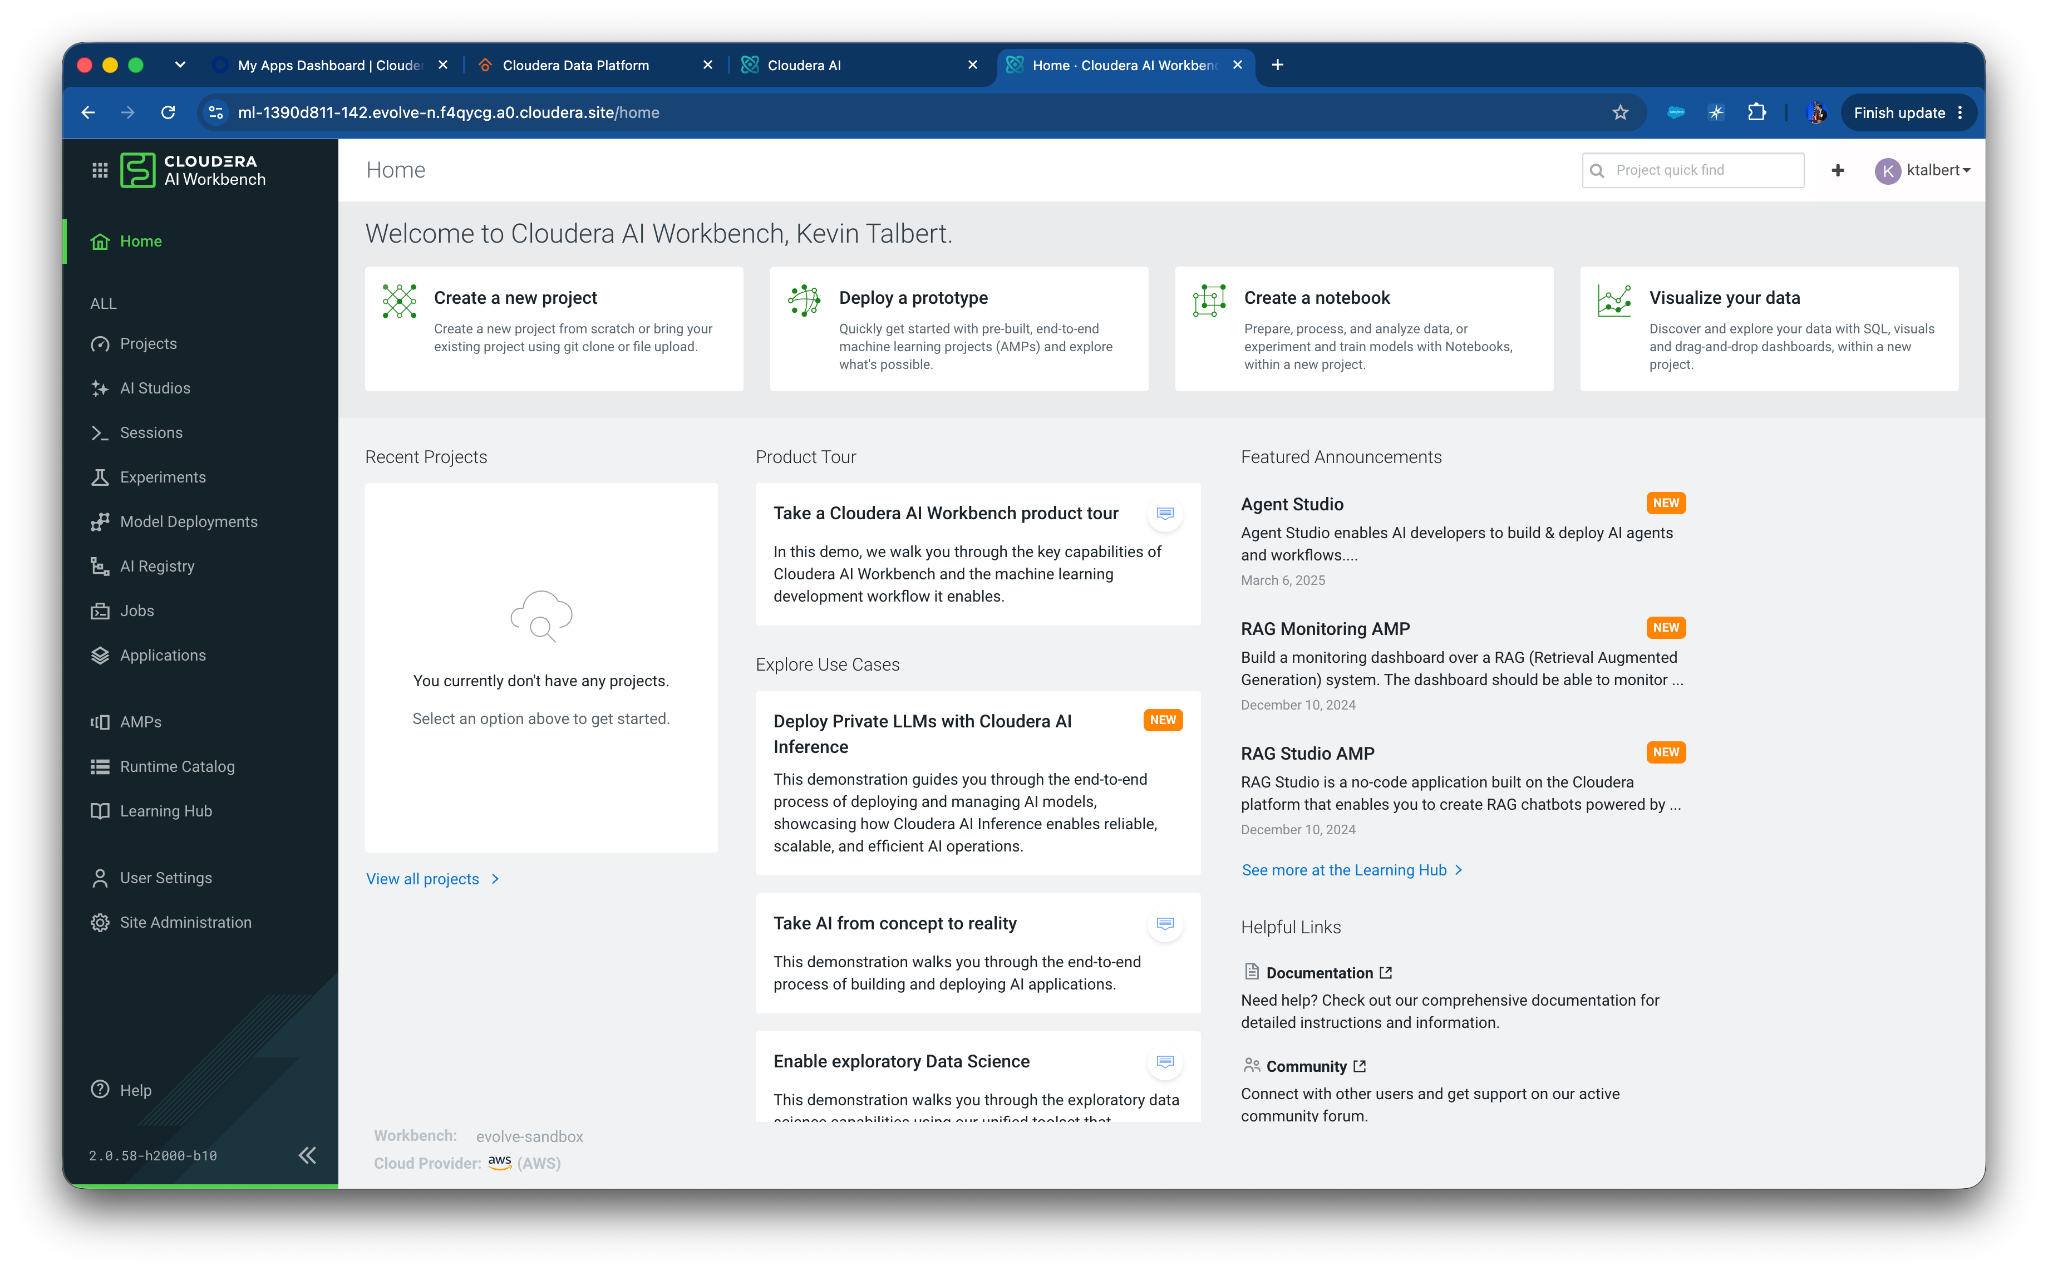
From within the Cloudera AI Workbench, you will Create a new Project.
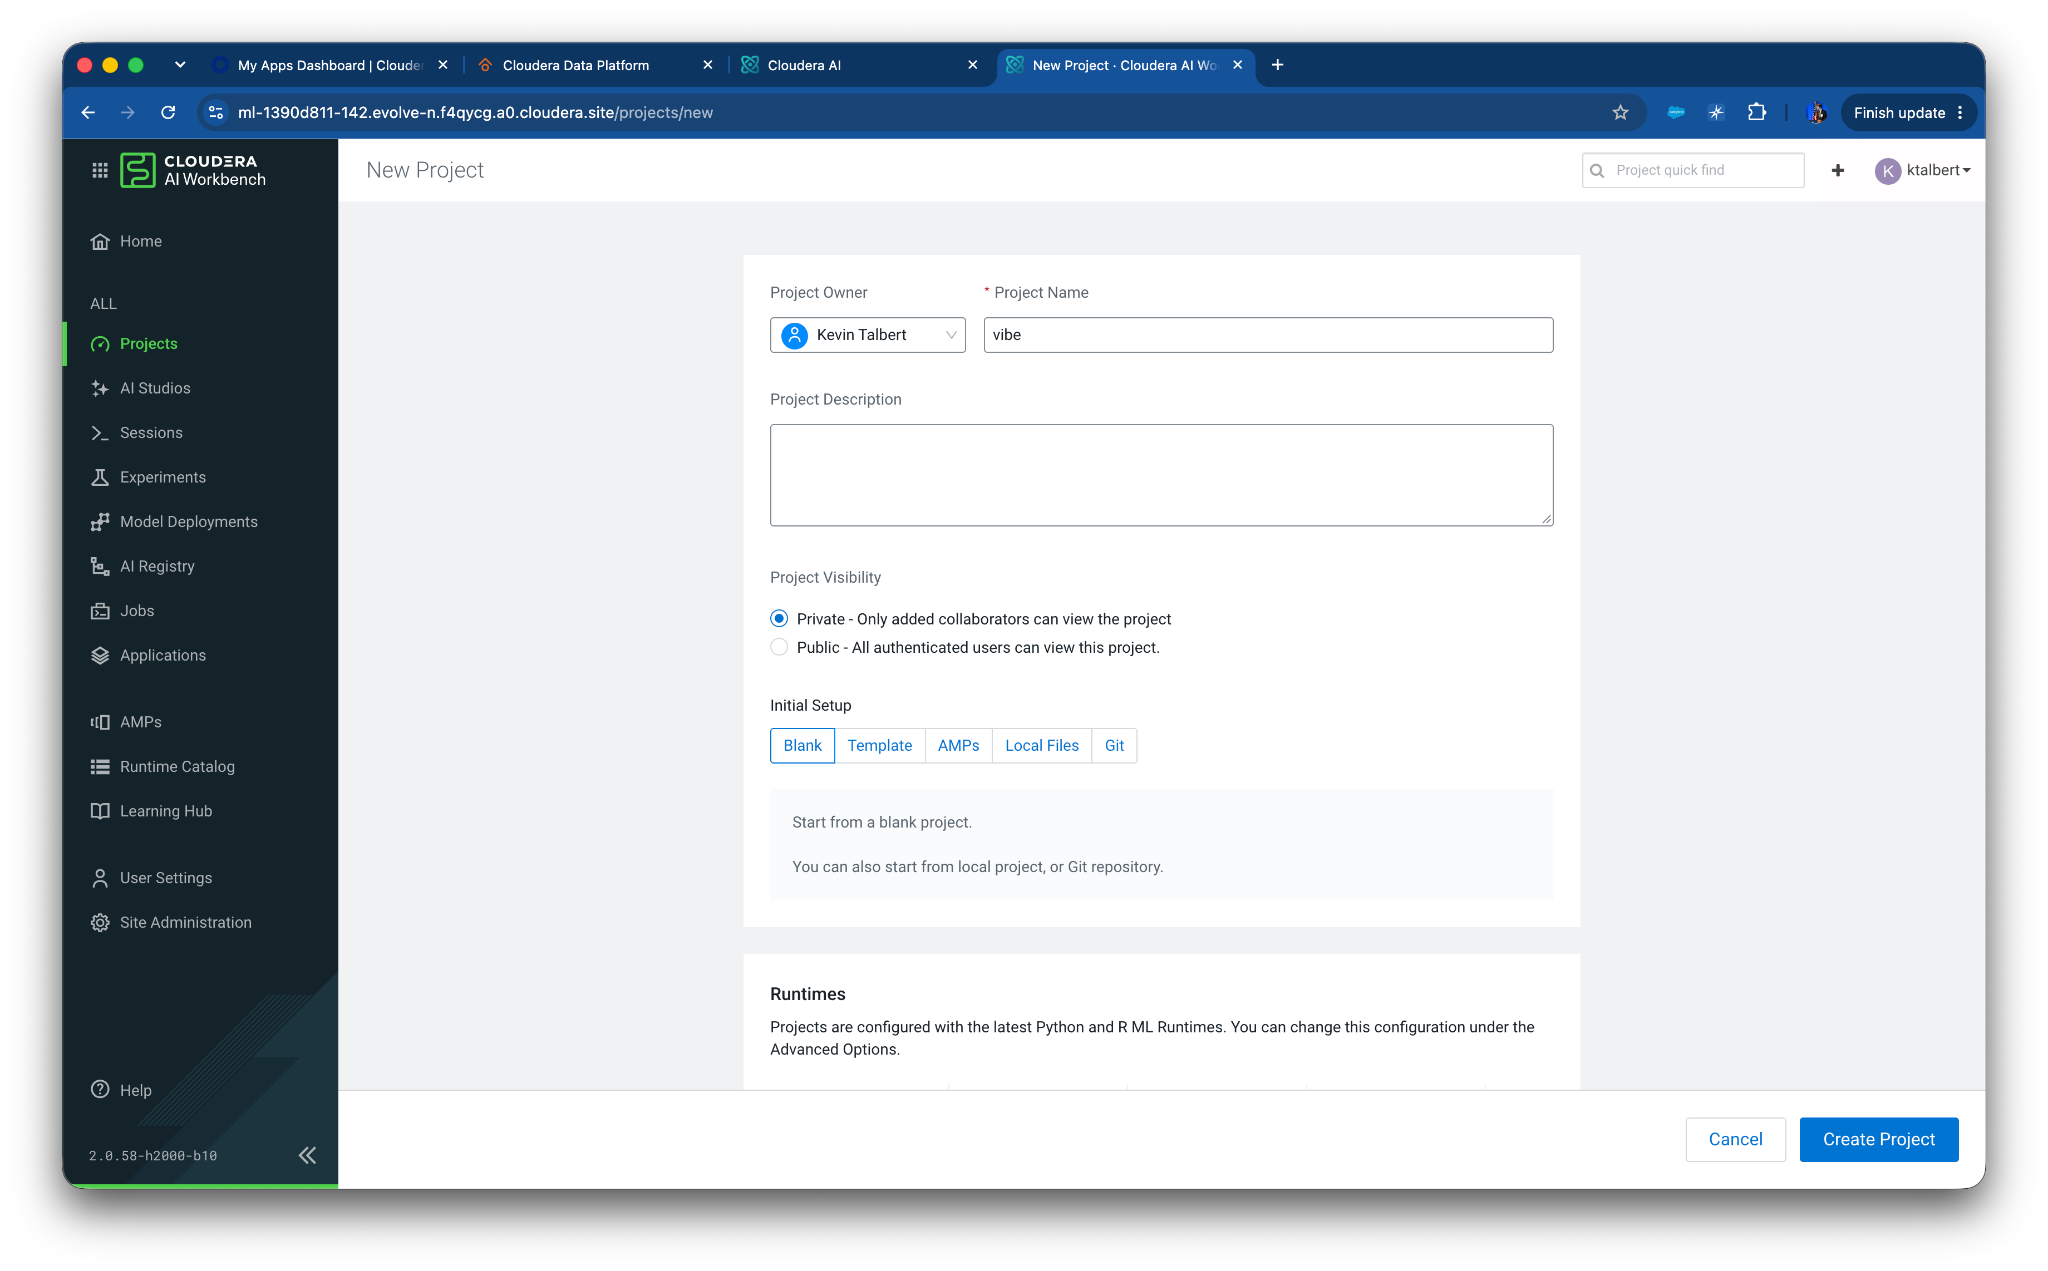
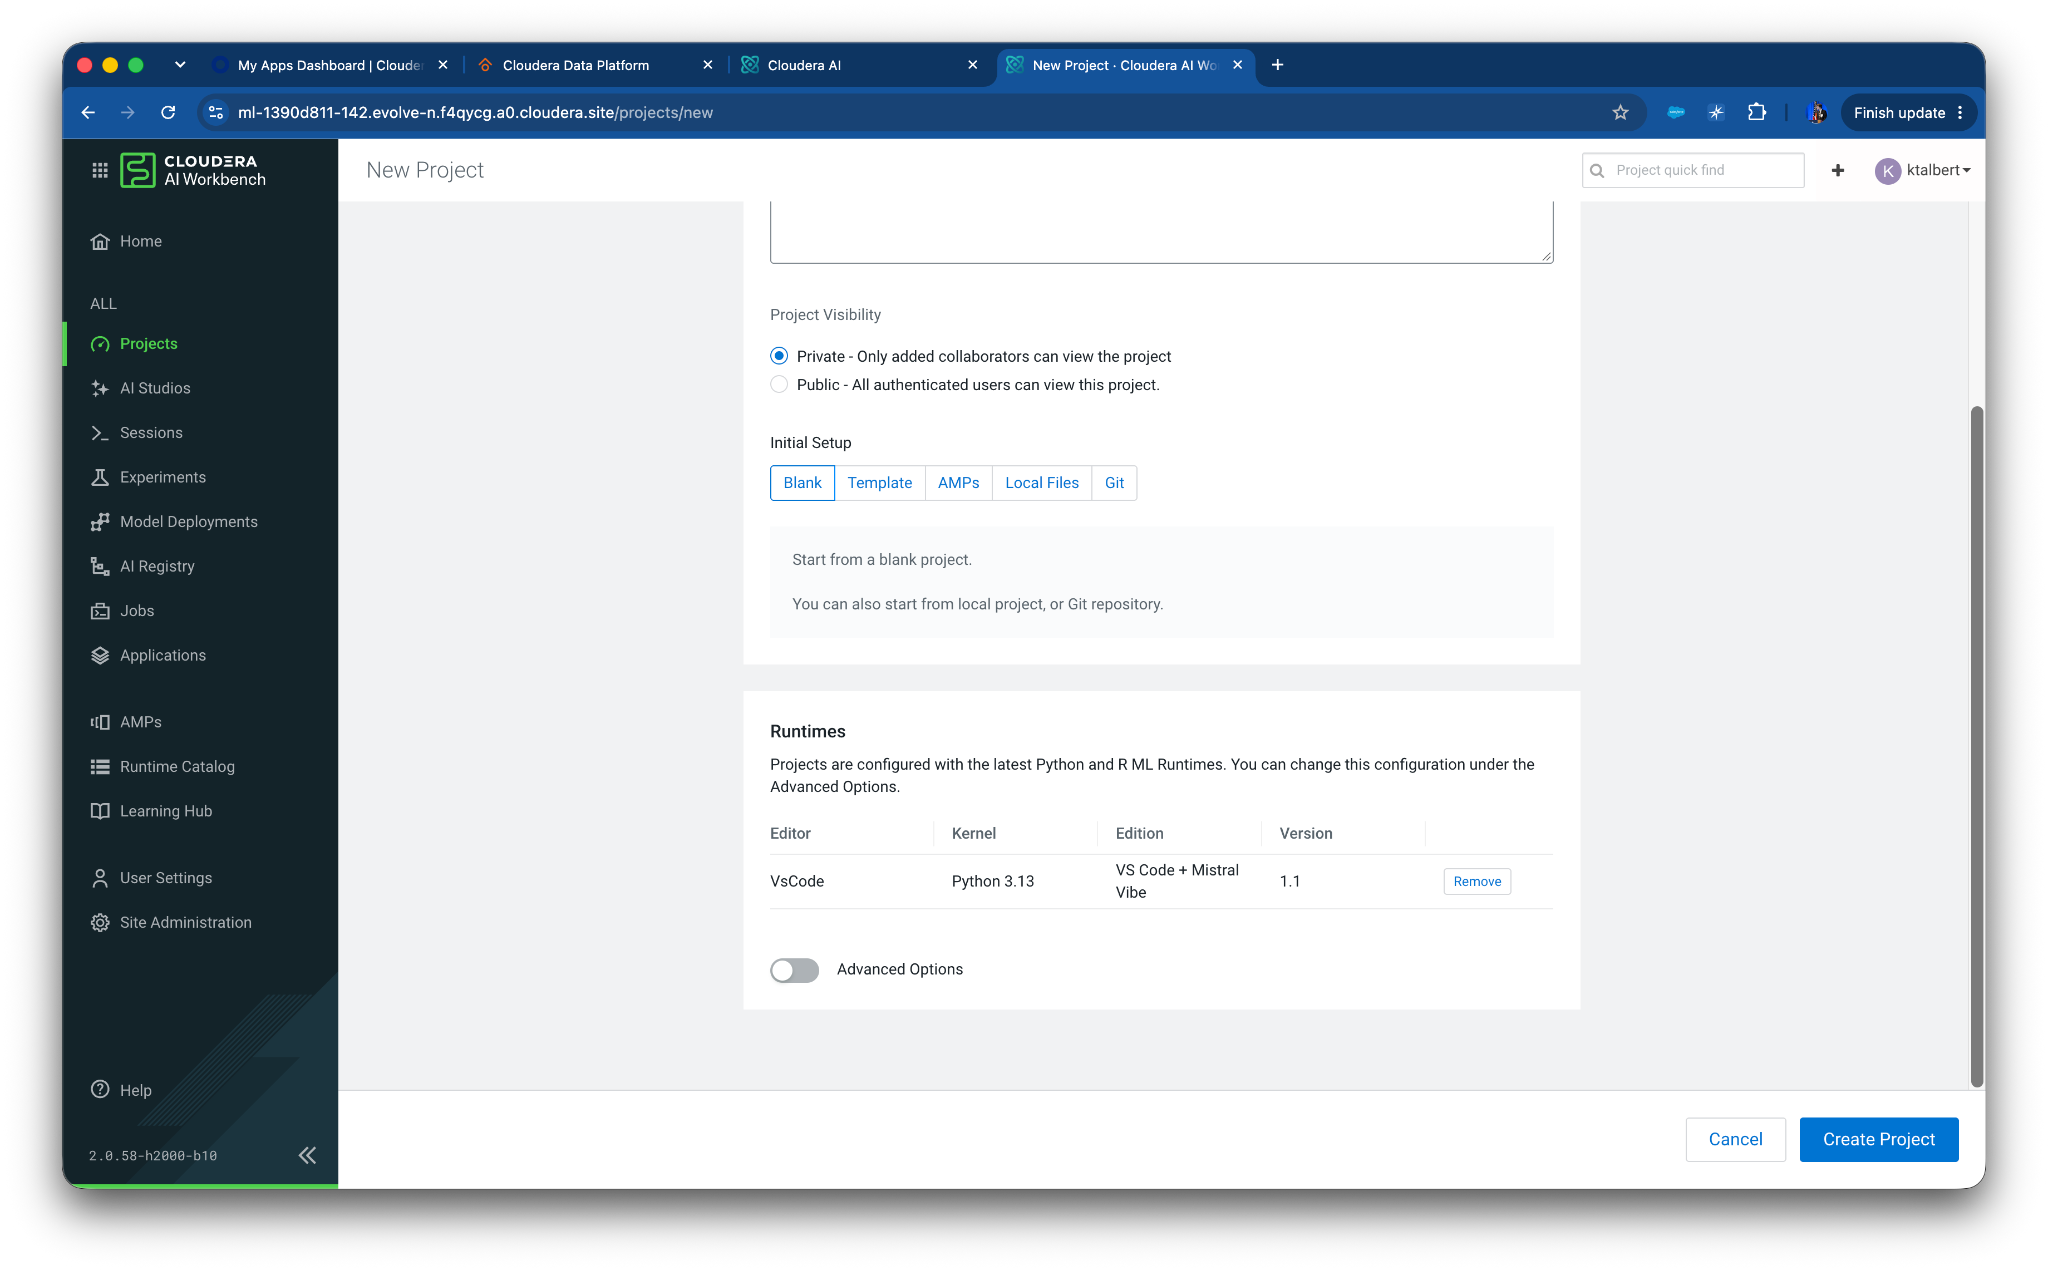
Create a Project and Name it with either your name or your pet’s name.
Select Blank for the initial setup, and use the preselected runtime. Project visibility should stay set to “Private”. Click Create Project.
Skip Advanced options.
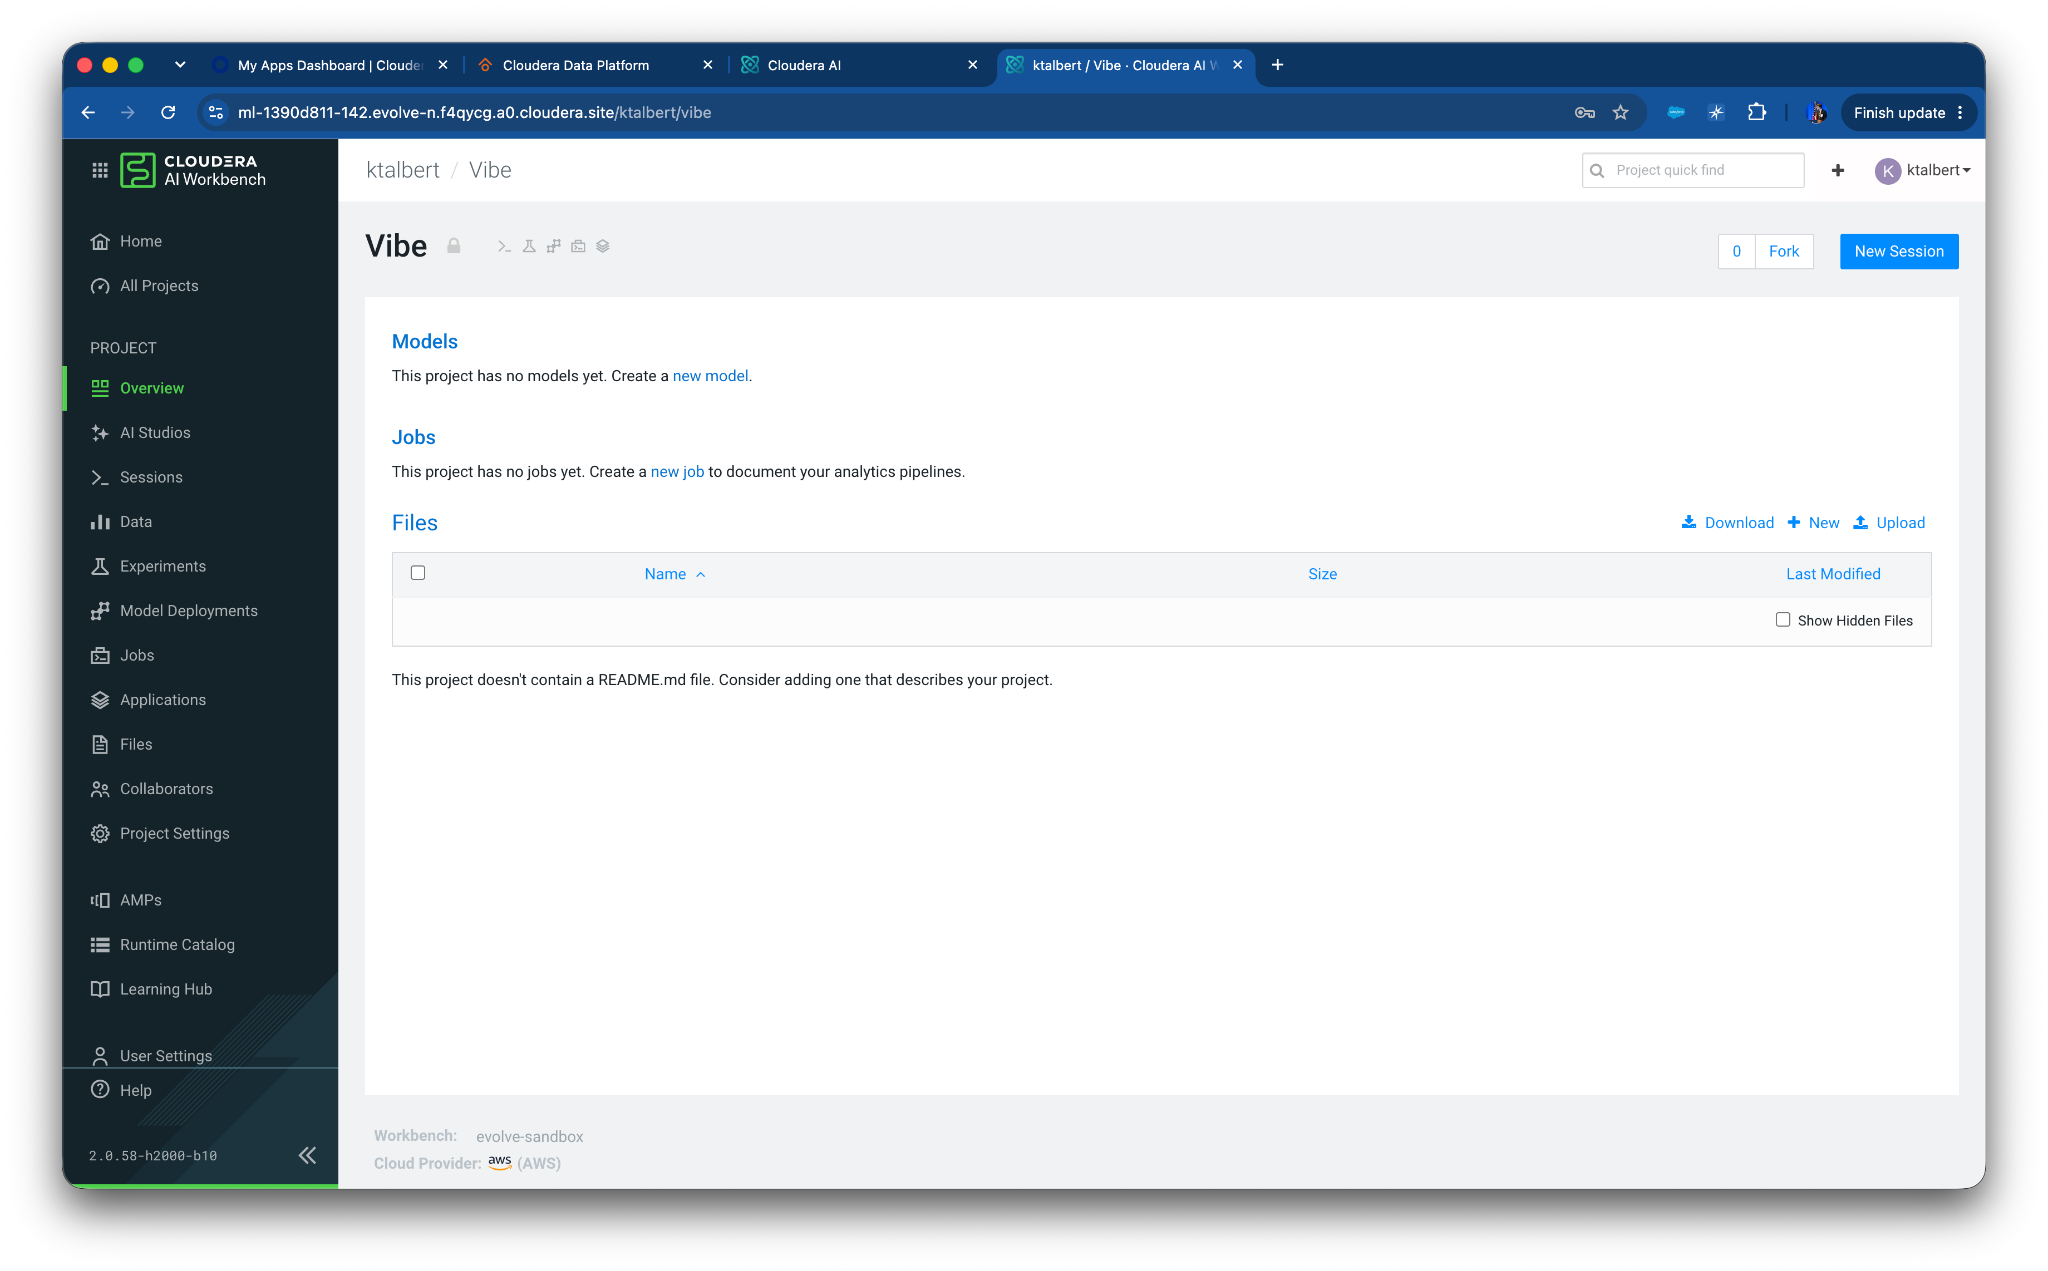
Start a new session with the default profile.
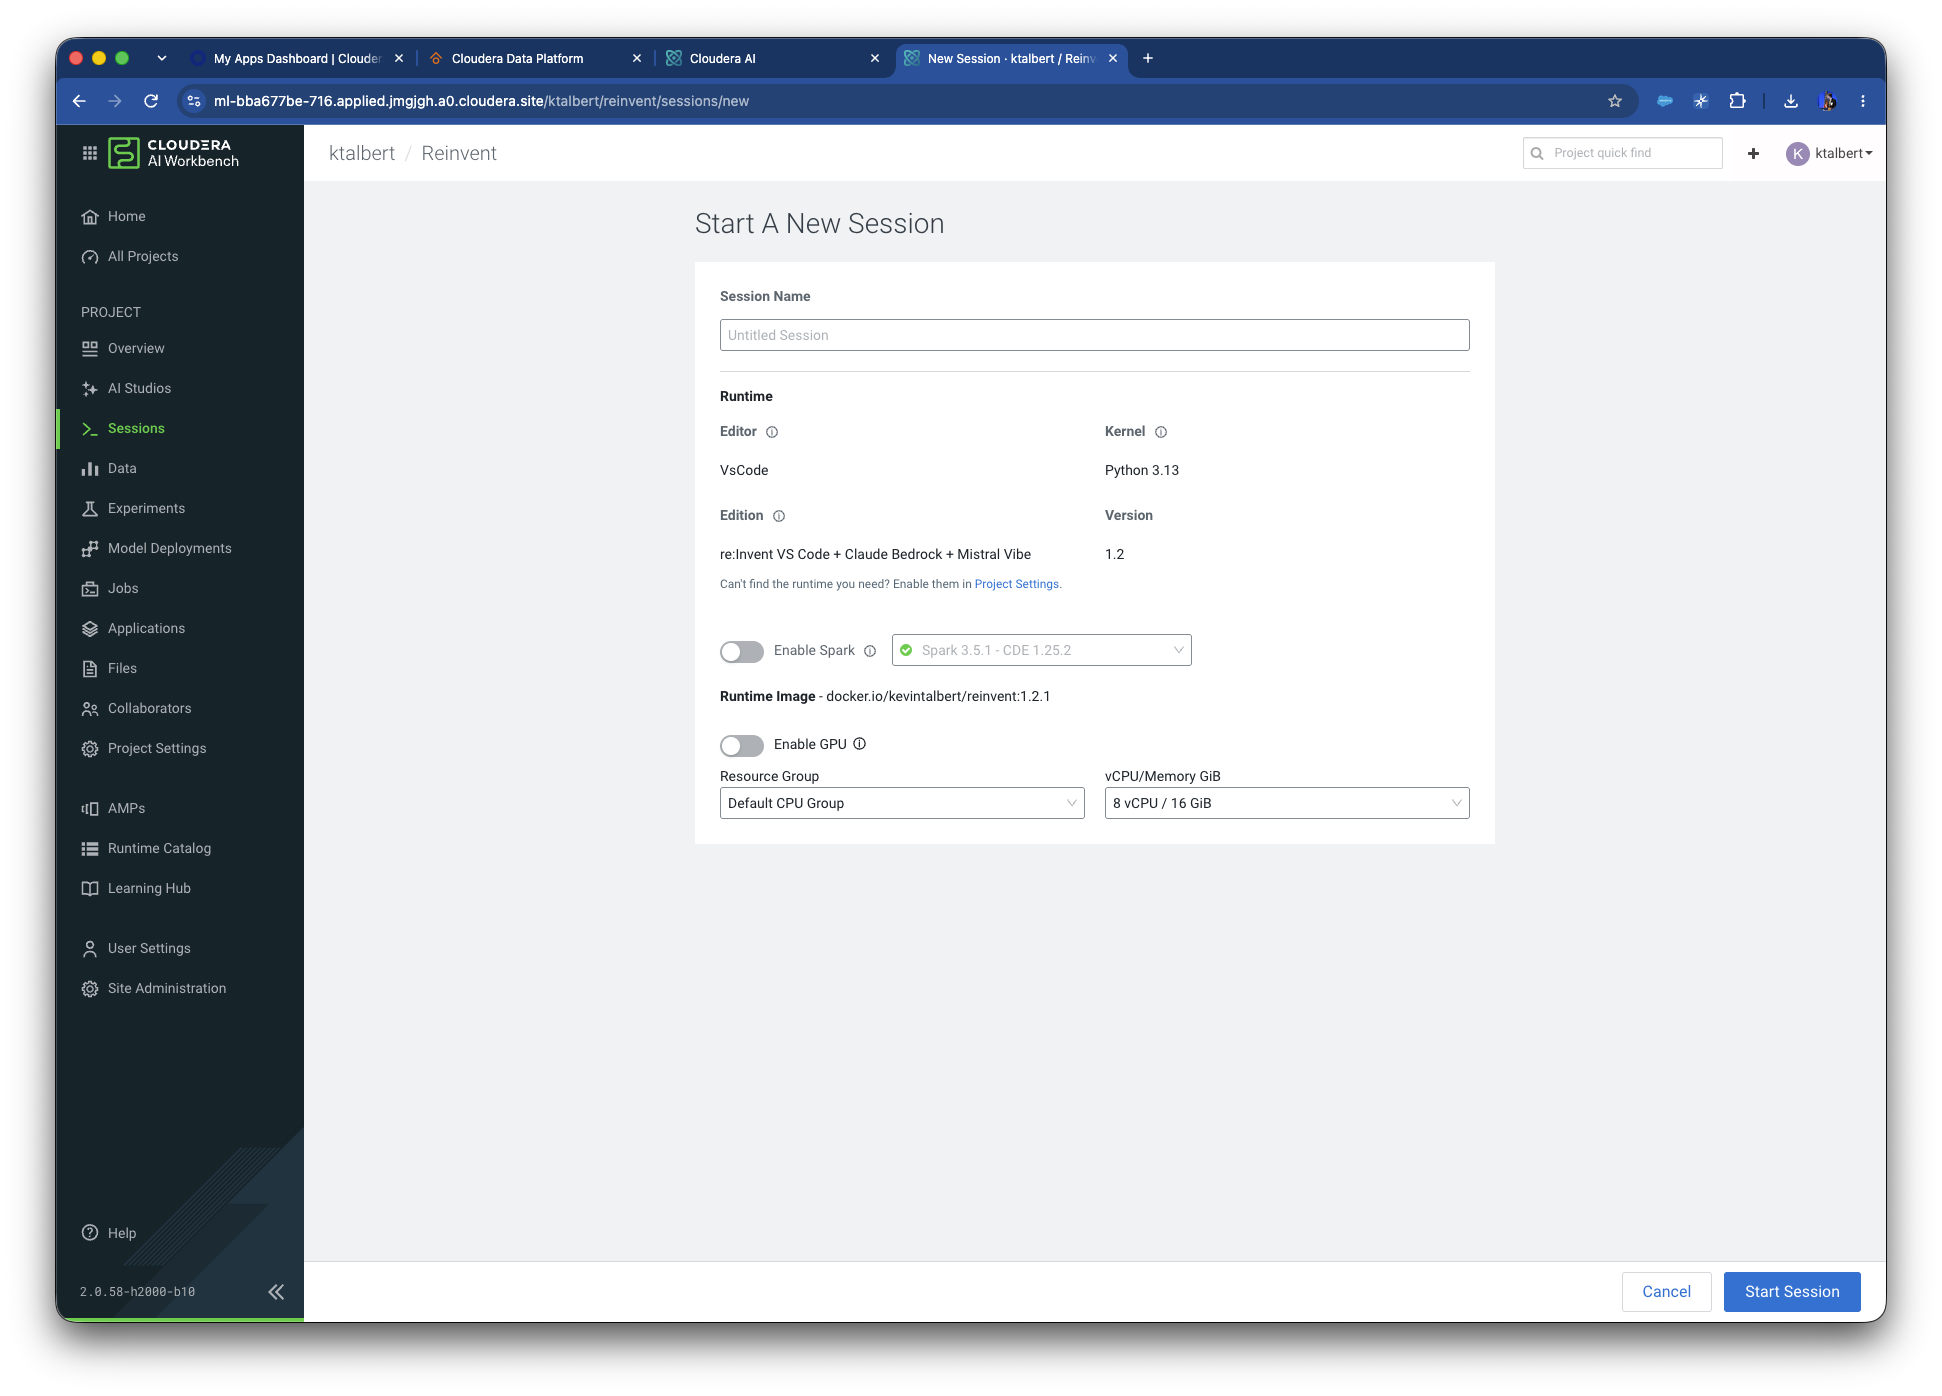
You should see an interface that looks something like below:
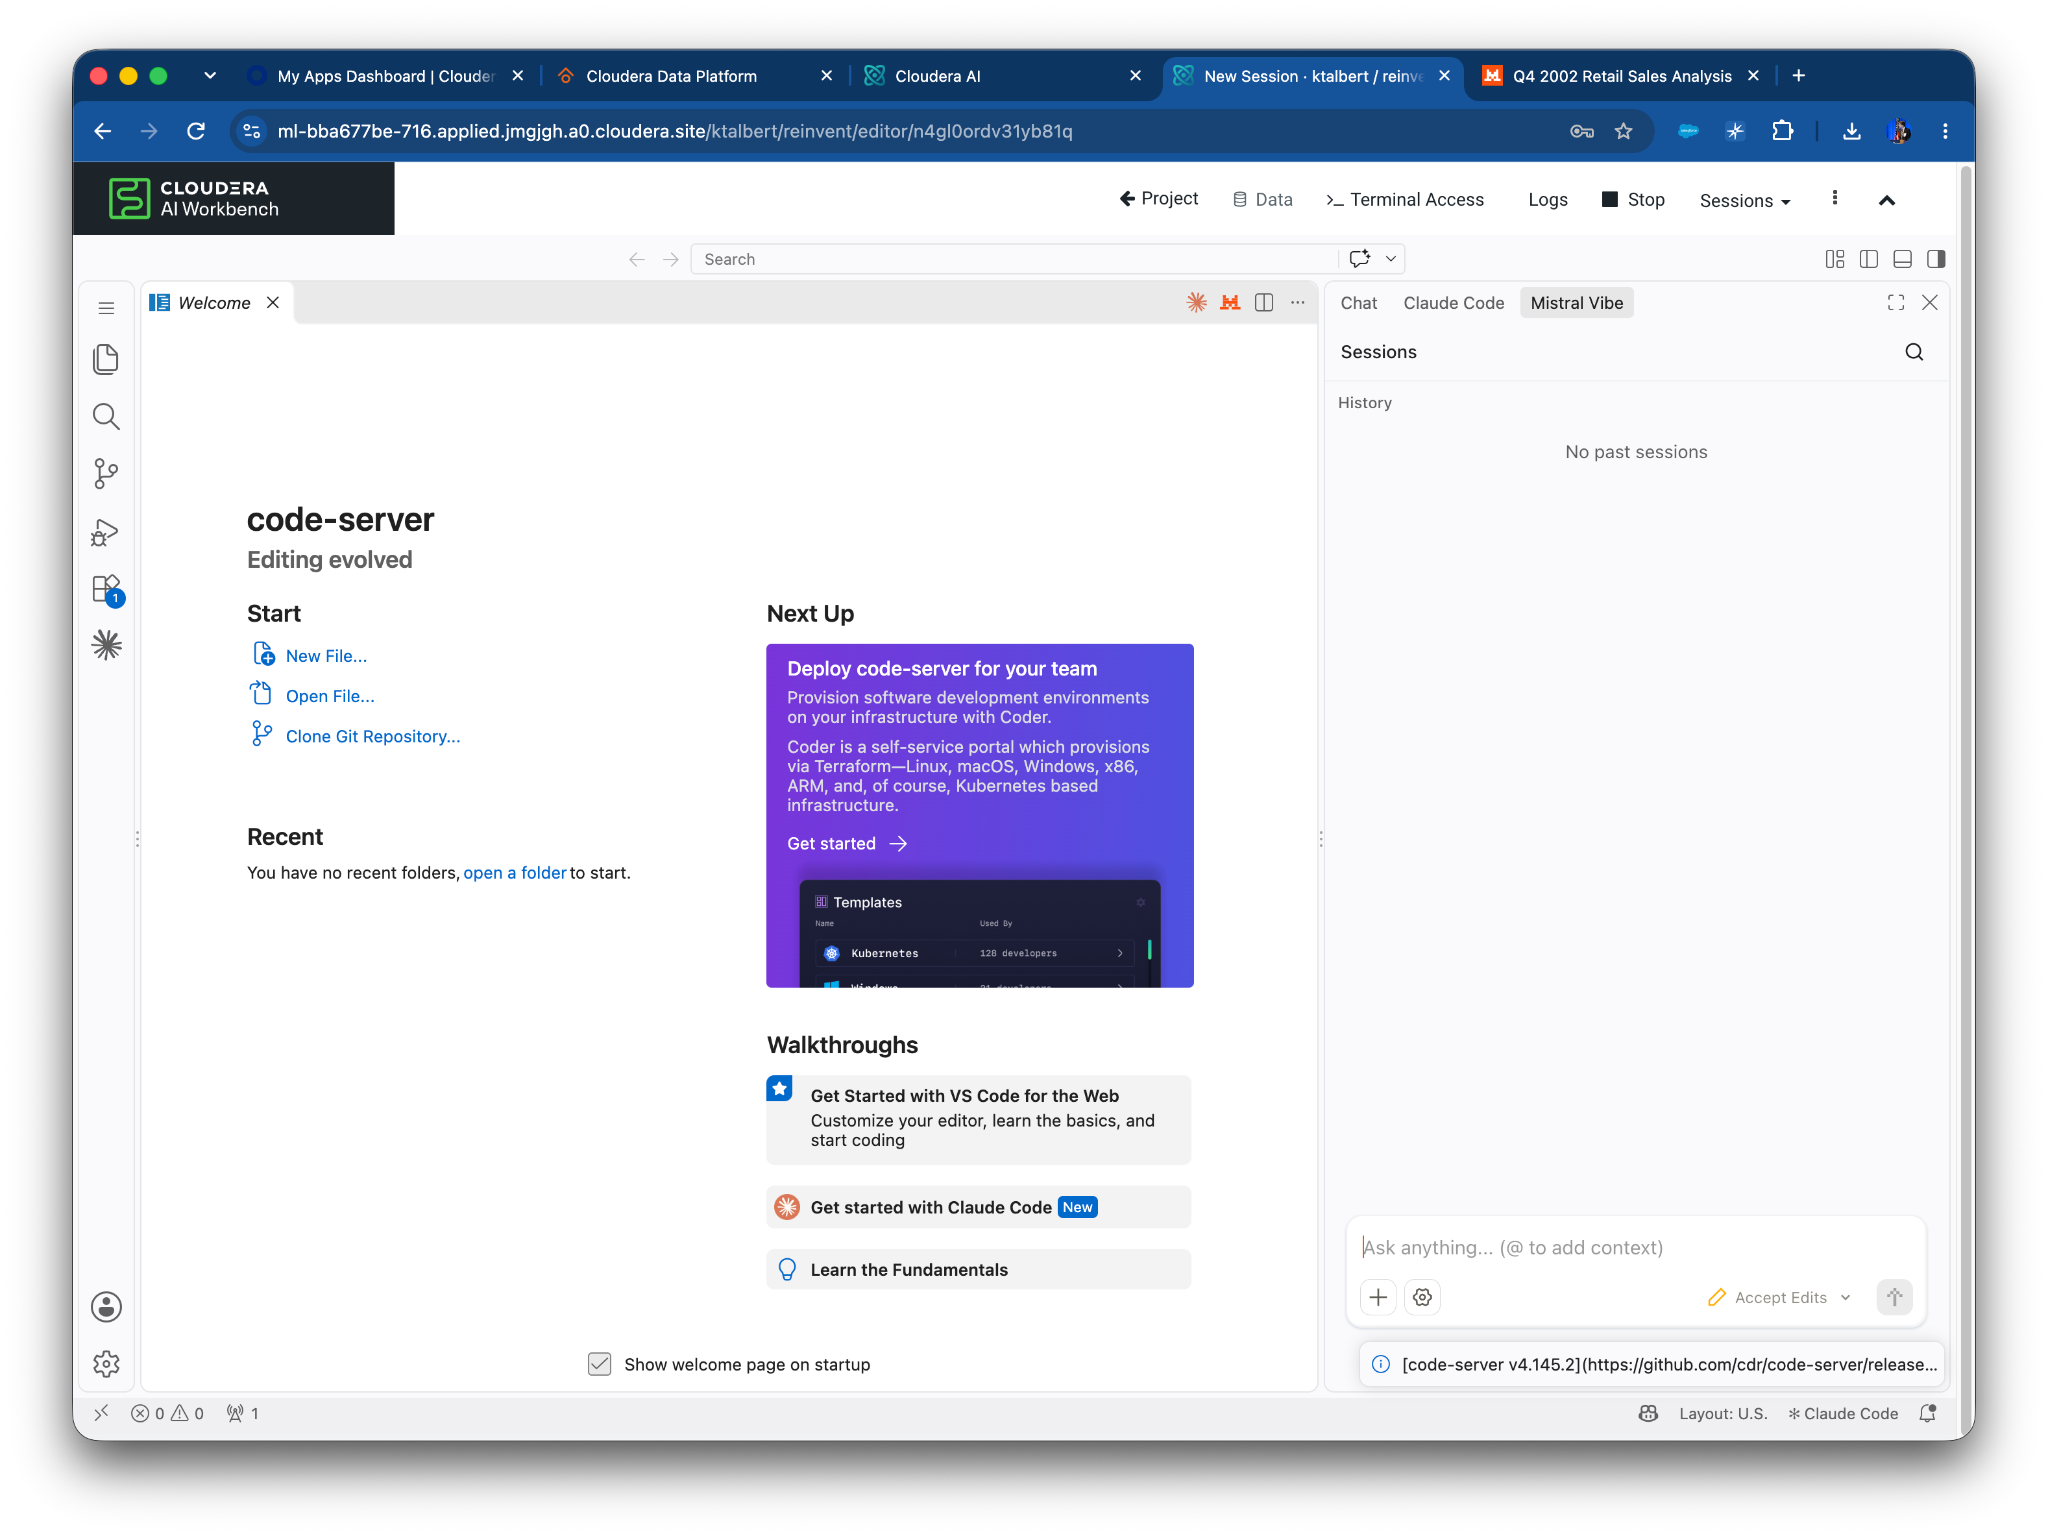
The key is to look for the Mistral Vibe and Claude Code icons in the upper right corner:
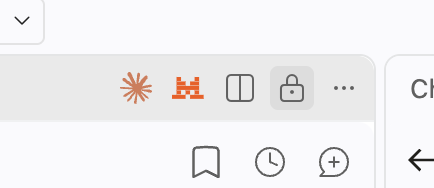
These are preconfigured for use and ready to go.
If for some reason you do NOT see these two extensions, you may need to install/enable them. Navigate to the screen below (Click on extensions in the new VS Code window (close out of any popups) and install the Mistral Vibe and Claude Code VS Code extensions).
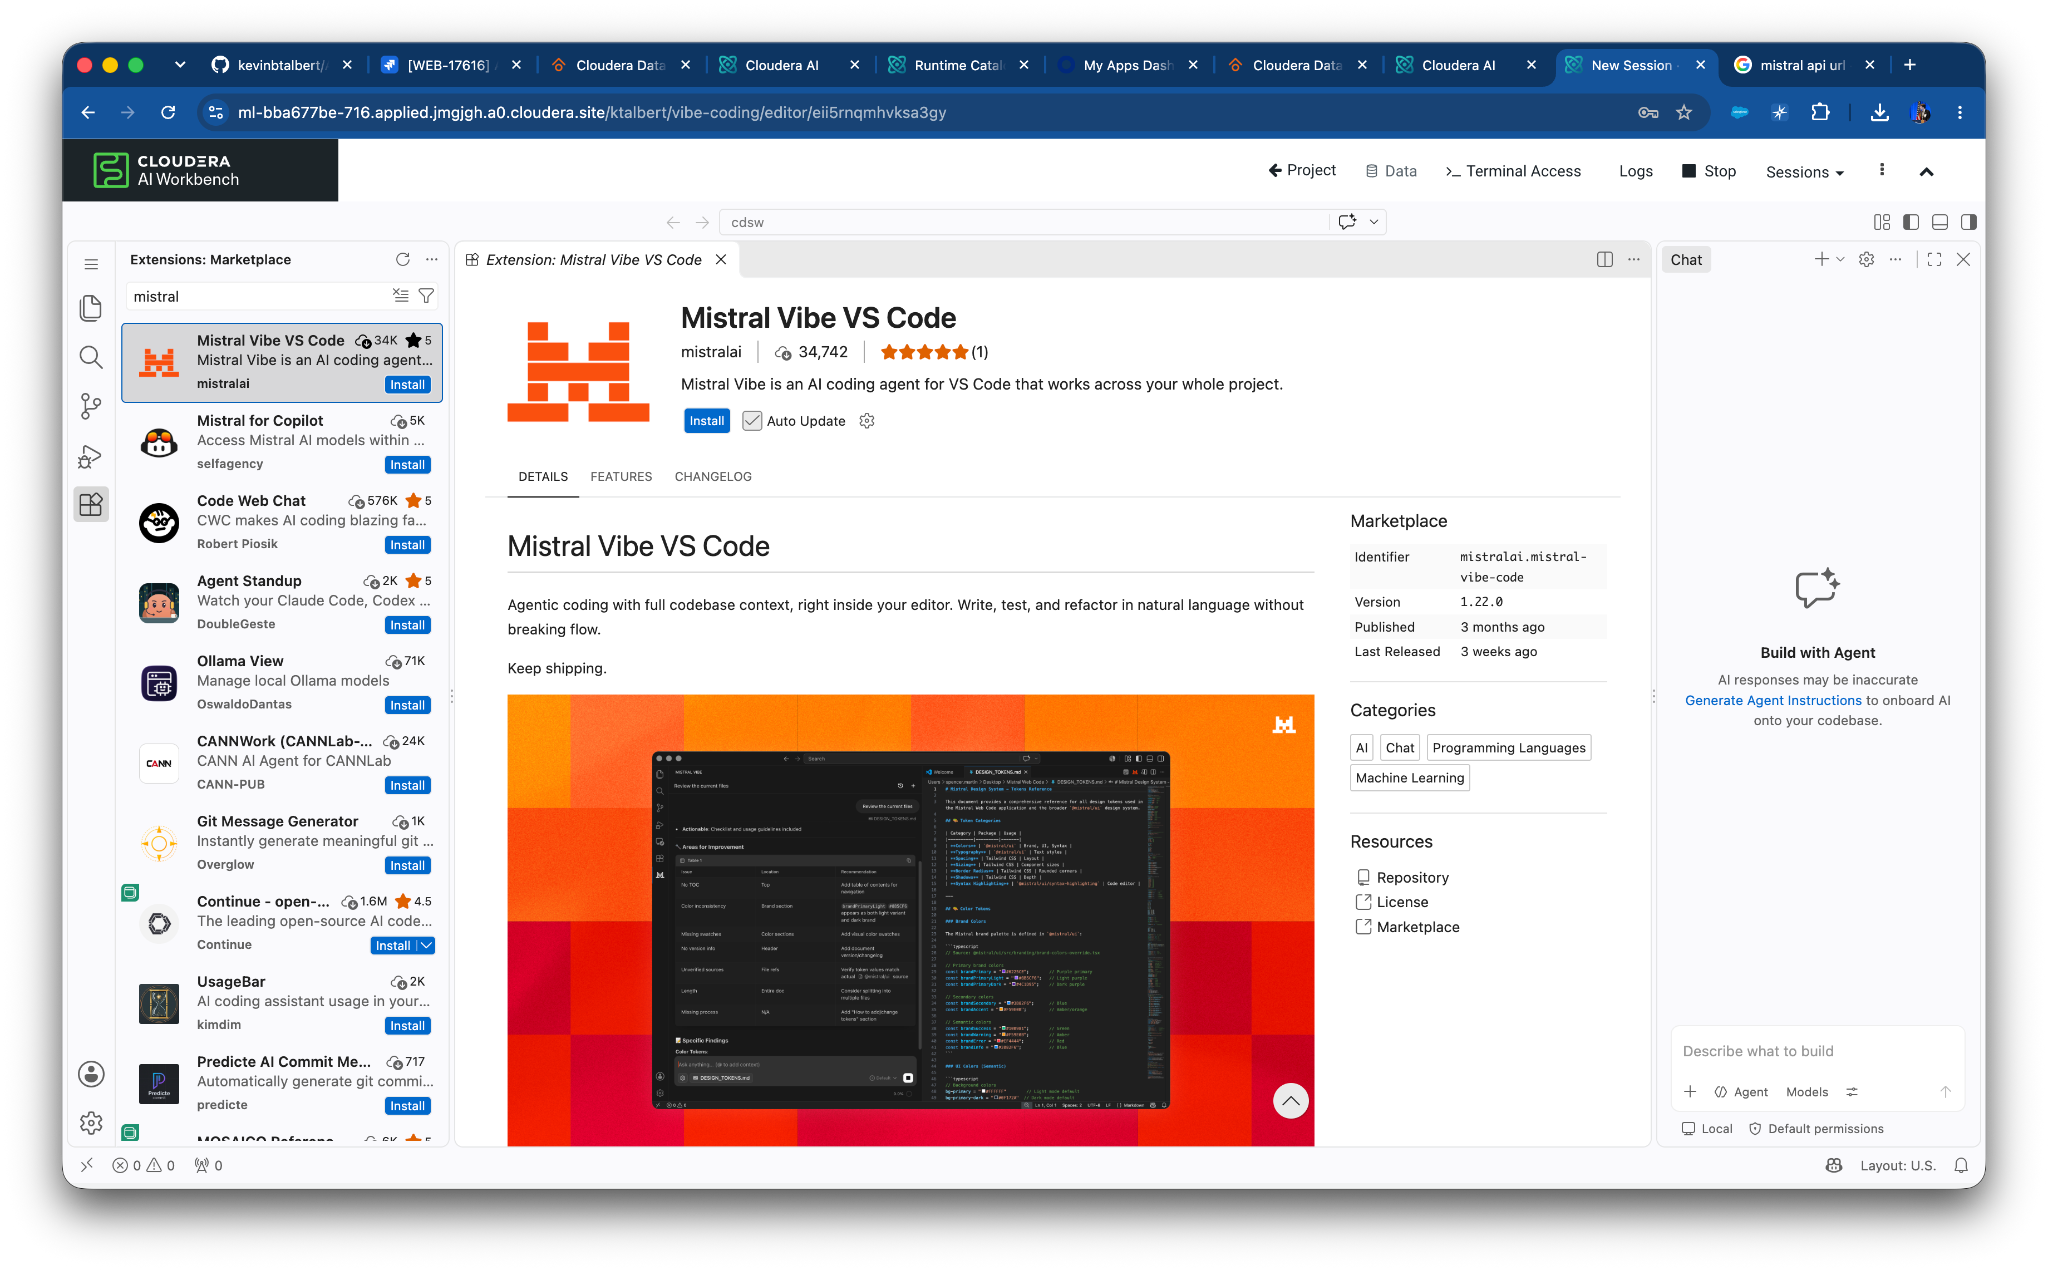
Start to poke around the interface. You should see a Mistral Vibe chat window pop up momentarily. You also have the option to use the Vibe CLI from the terminal.
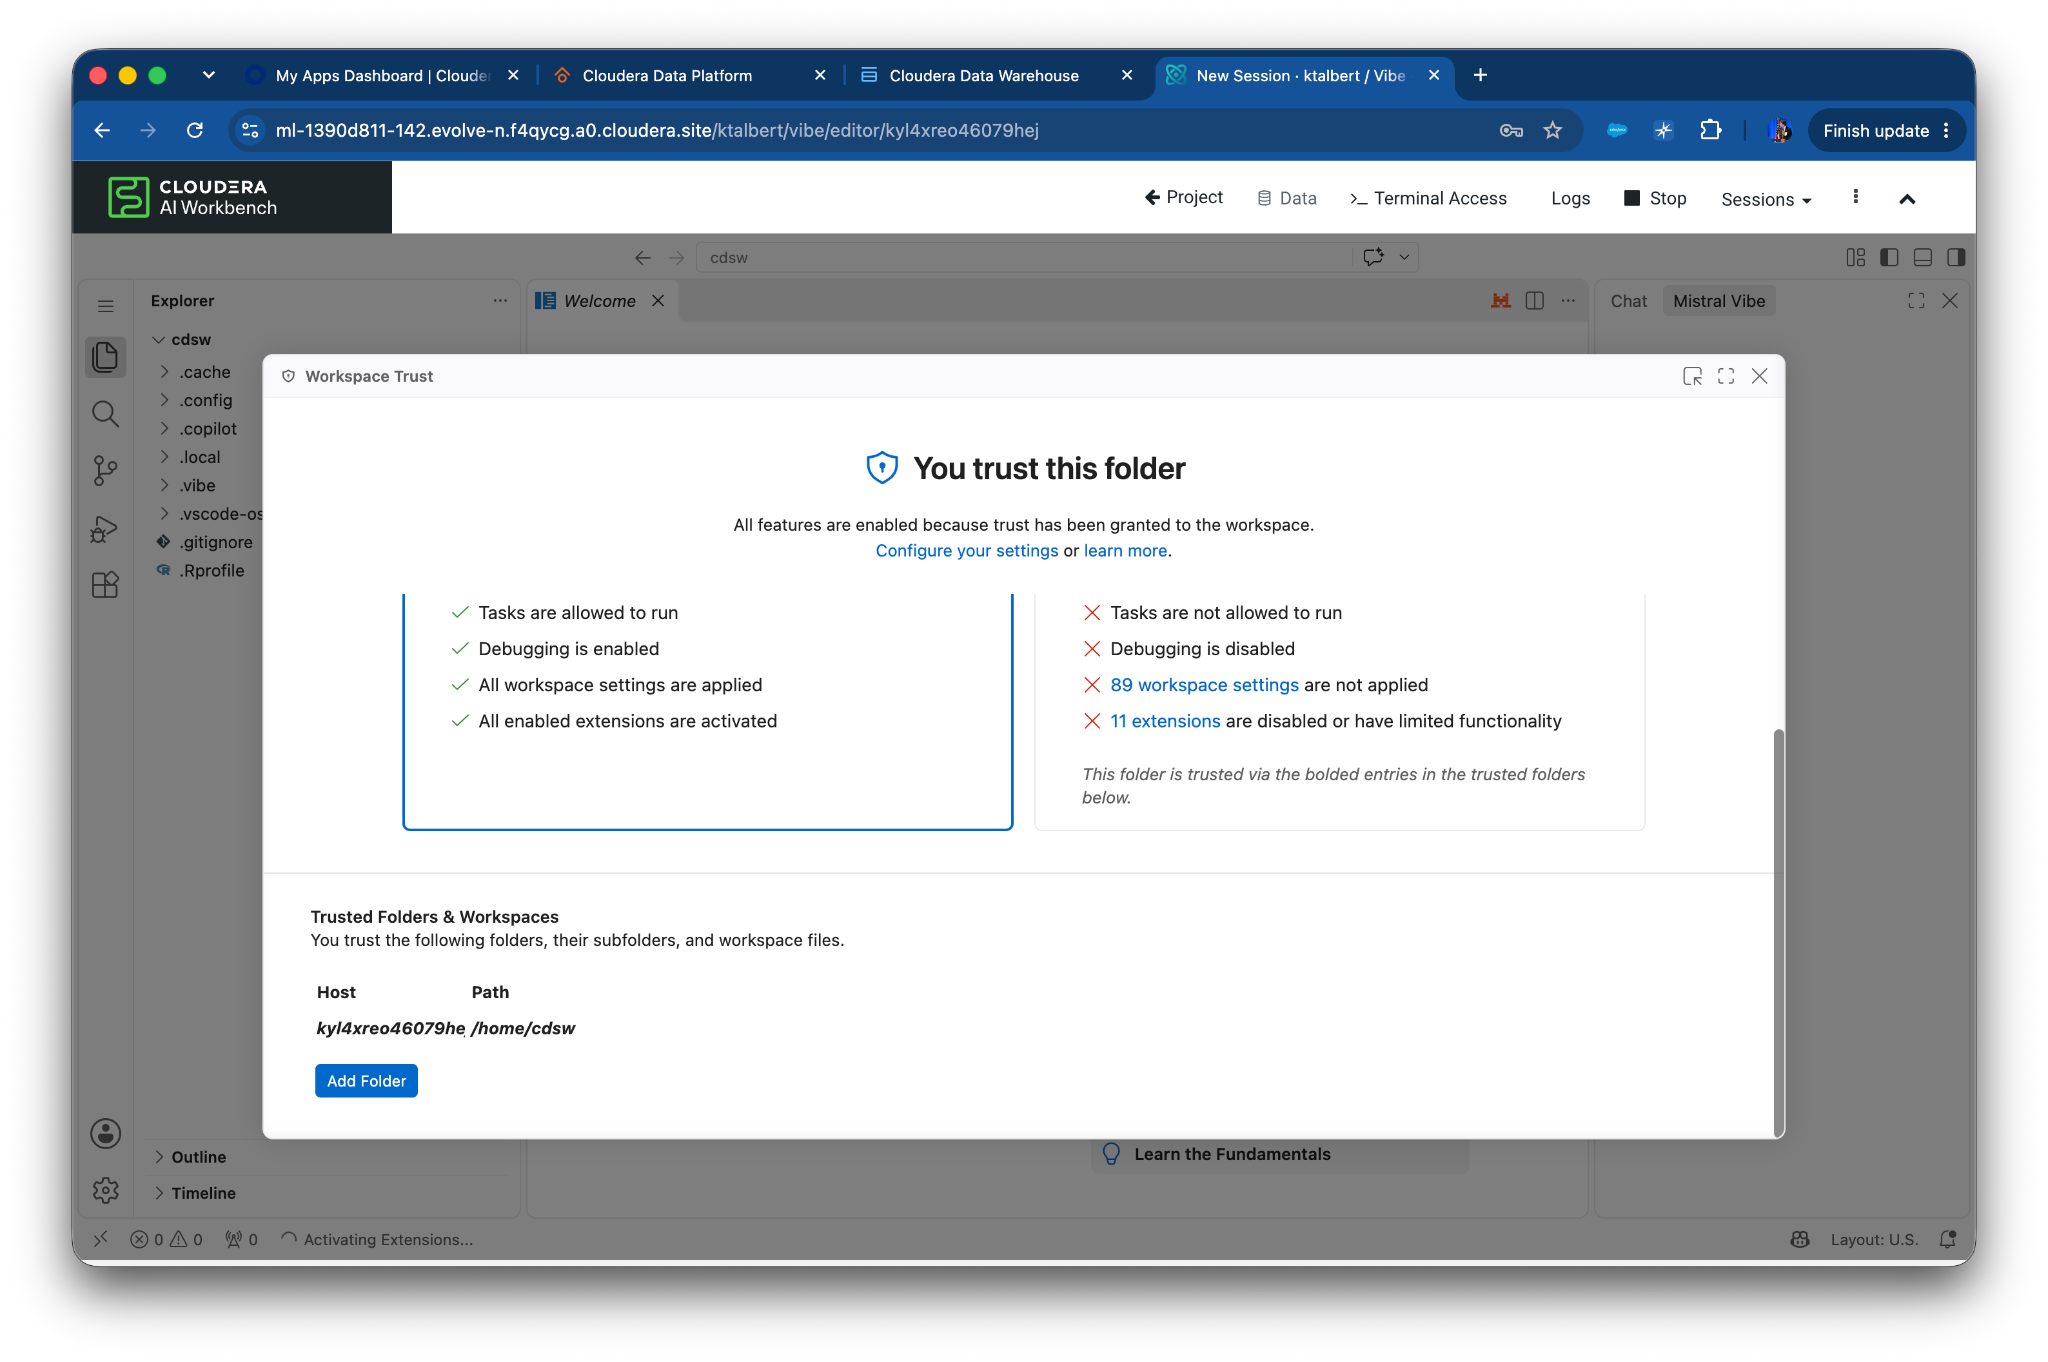
Before you can start interacting with the files, you will need to trust your home folder (/home/cdsw). You can do this by selecting the "Restricted mode” blue bubble in the lower left corner of the screen and accepting the below prompt. This will enable the workspace for editing.
Let's start coding!
From here, you can either choose to complete the lab with Mistral or Claude Code (or swap between the two!)
We will start with Mistral Vibe and their “Mistral Large 4” model.
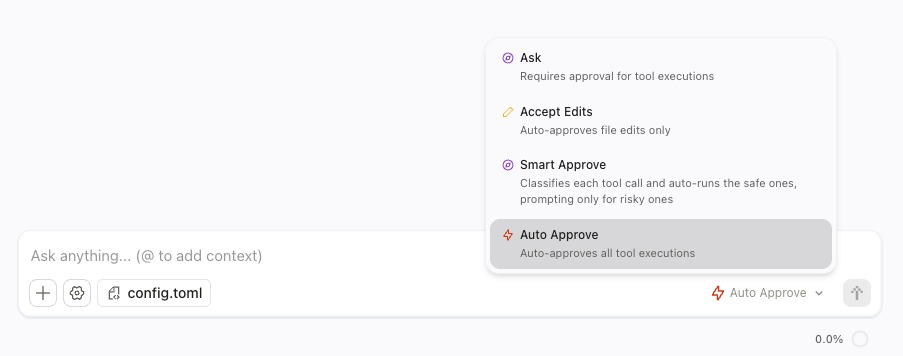
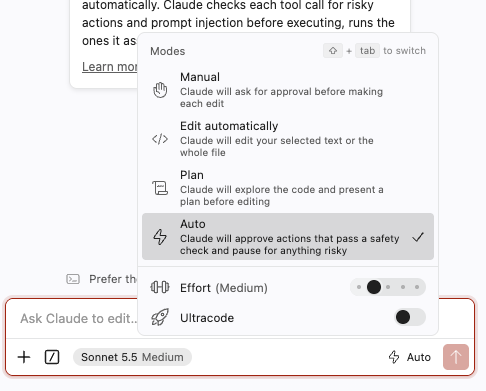
First, enable “auto approve” mode in the chat interface. Auto approve cuts down on the amount of times Vibe comes back to you for approvals. This will rapidly speed up development cycles. This is very useful in development but should not be used in Production.\ \ Read a bit more on permissions: https://docs.mistral.ai/vibe/code/safety-approvals-permissions
The same can be done in Claude Code:
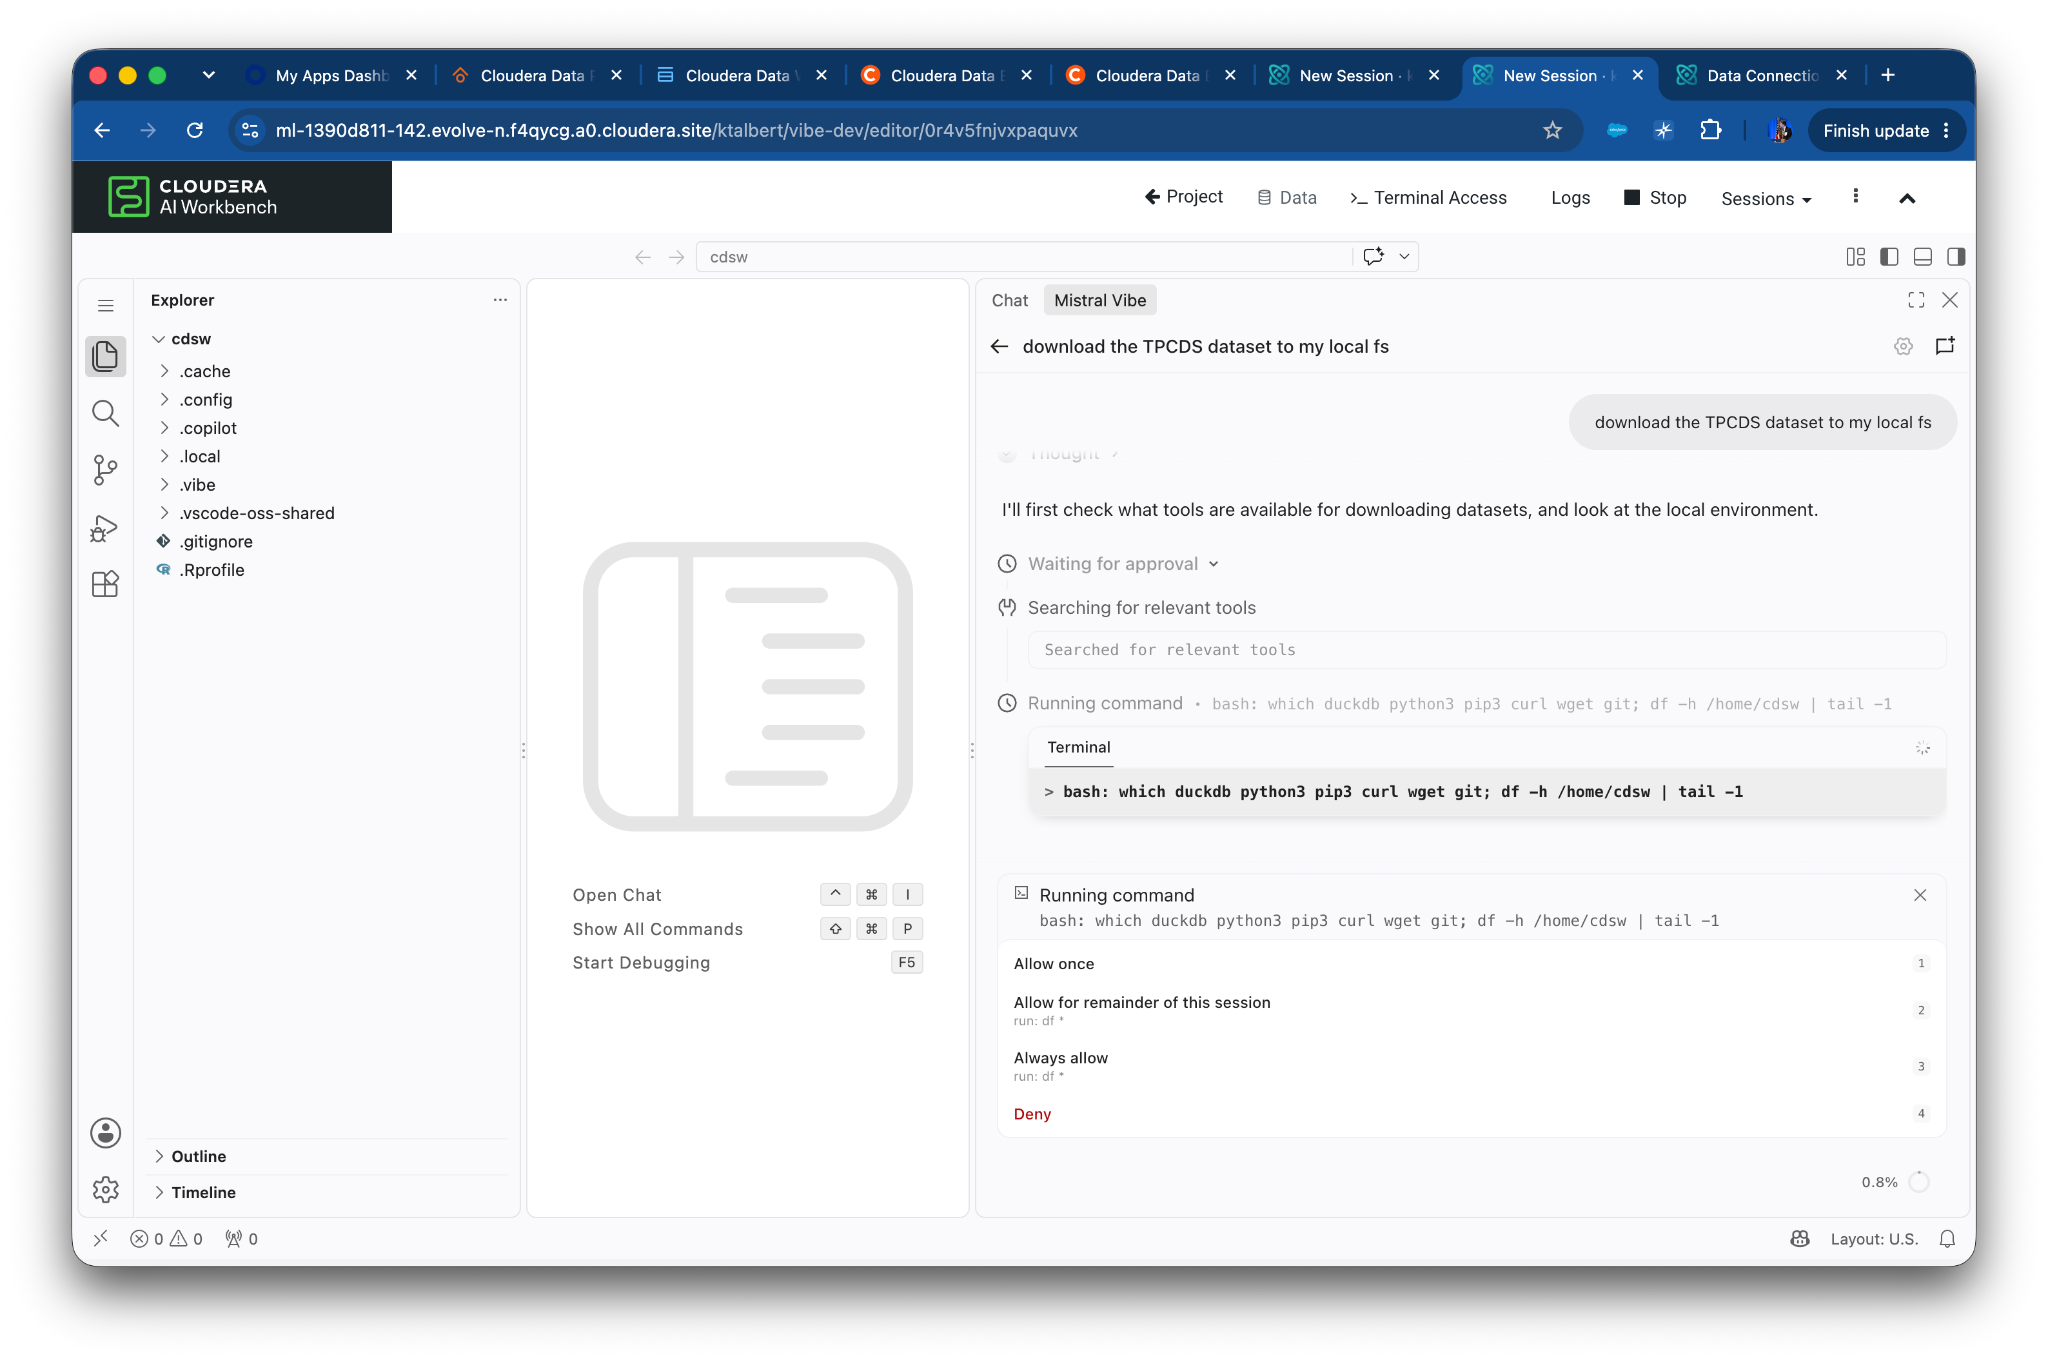
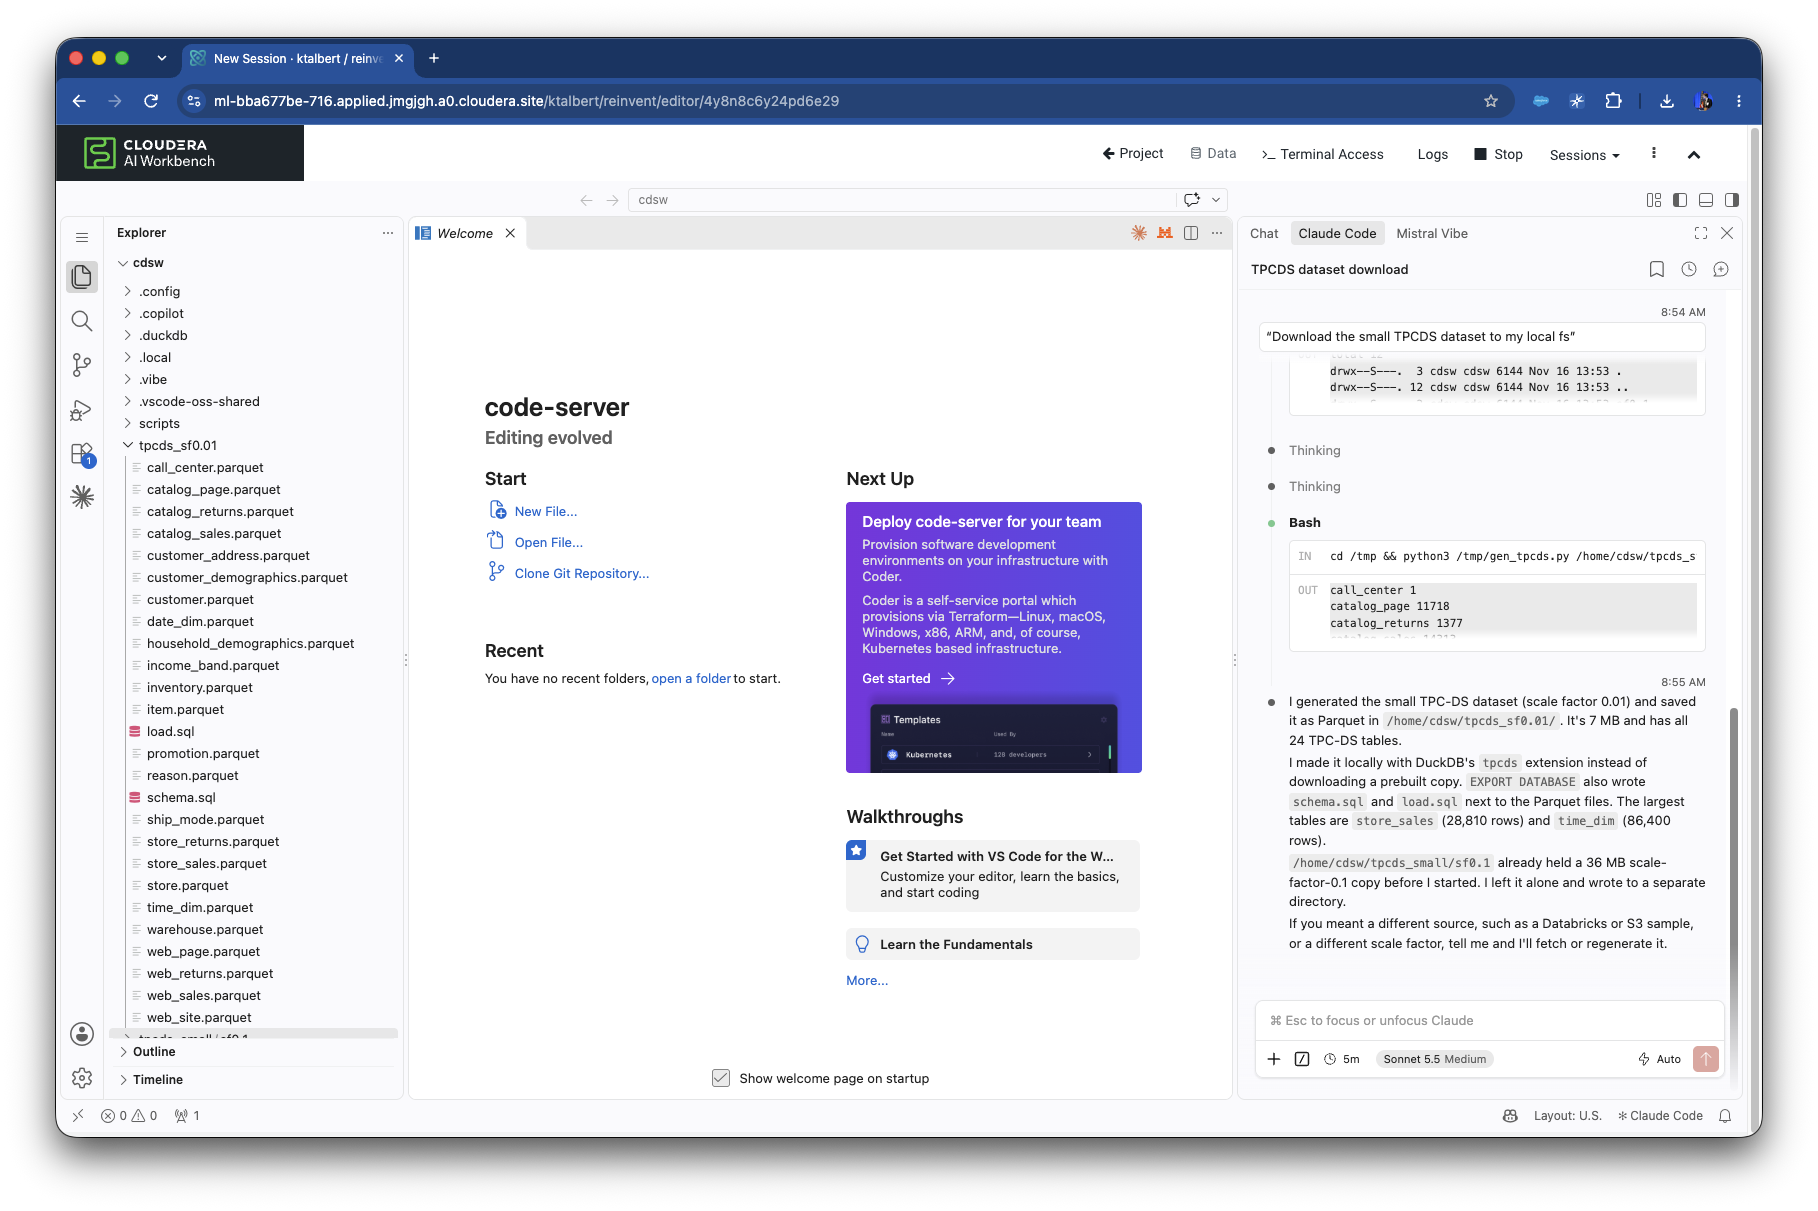
Start by downloading the TPCDS small dataset:
Download the small TPCDS dataset to my local fs. store in a new
directory at /home/cdsw/tpcds_small
Vibe:
Claude:
Let’s create a SKILL to write data to our data warehouse.
What are agent SKILLS? Check out: https://agentskills.io/home
To start, use the “Data” tab to get the connection snippet so you don't have to feed connection details by hand. Use the Impala connection from within the tab options. This connects our coding space to an enterprise Data Warehouse running on Cloudera.
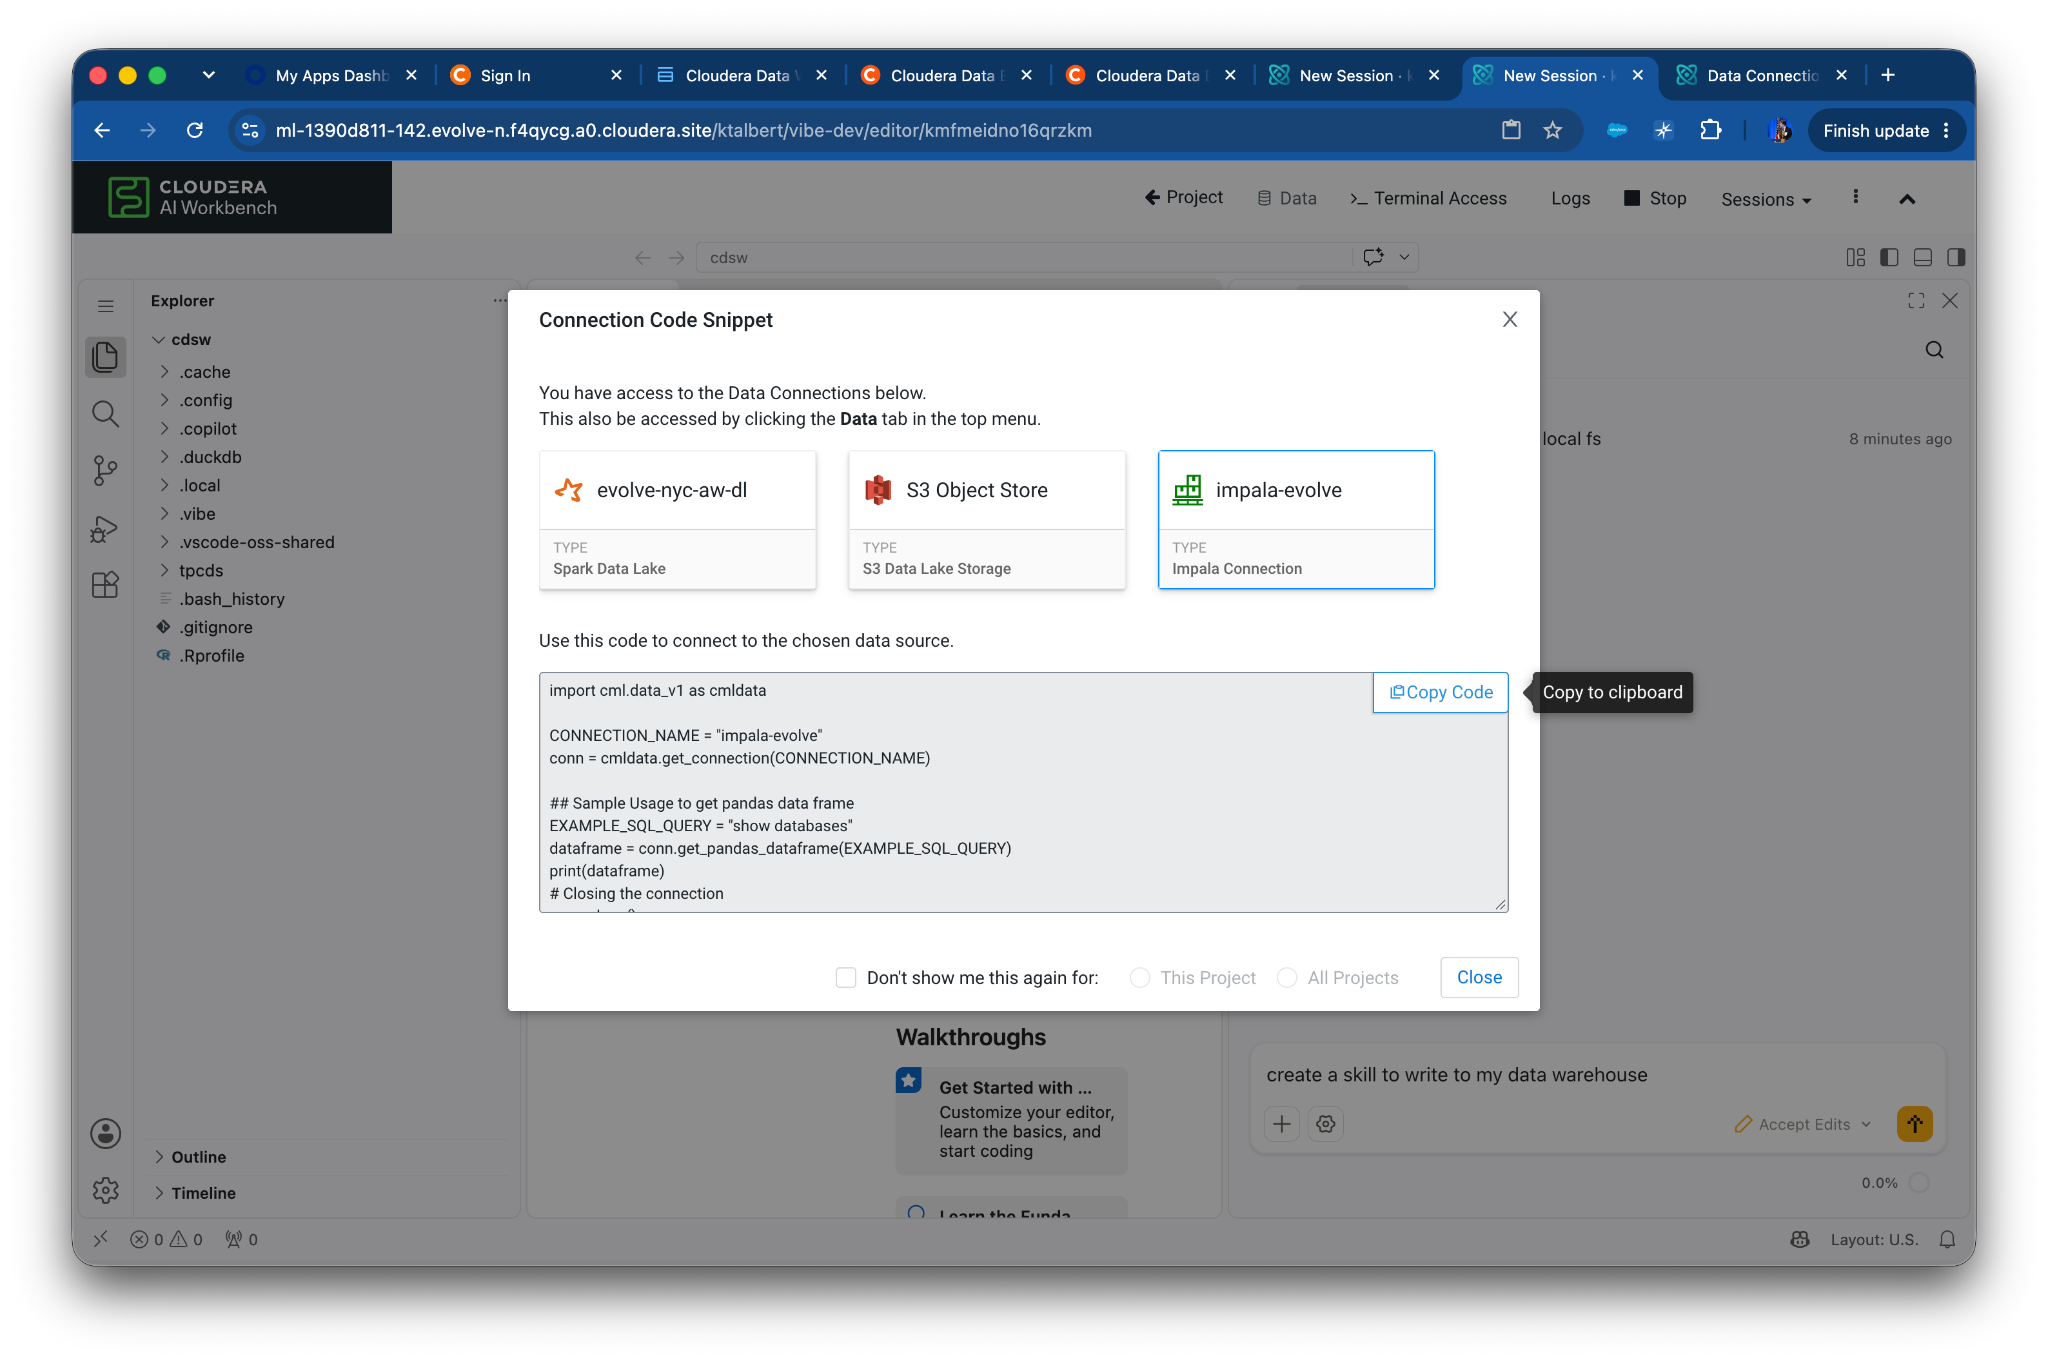
Postfix the below prompt with the copied code snippet. Copy this prompt before you copy the code snippet! *(adjust to the current Coding agent
*you are using):
Create a skill in vibe to write to my data warehouse using the code
snippet below:

... (insert your copied code snippet here)
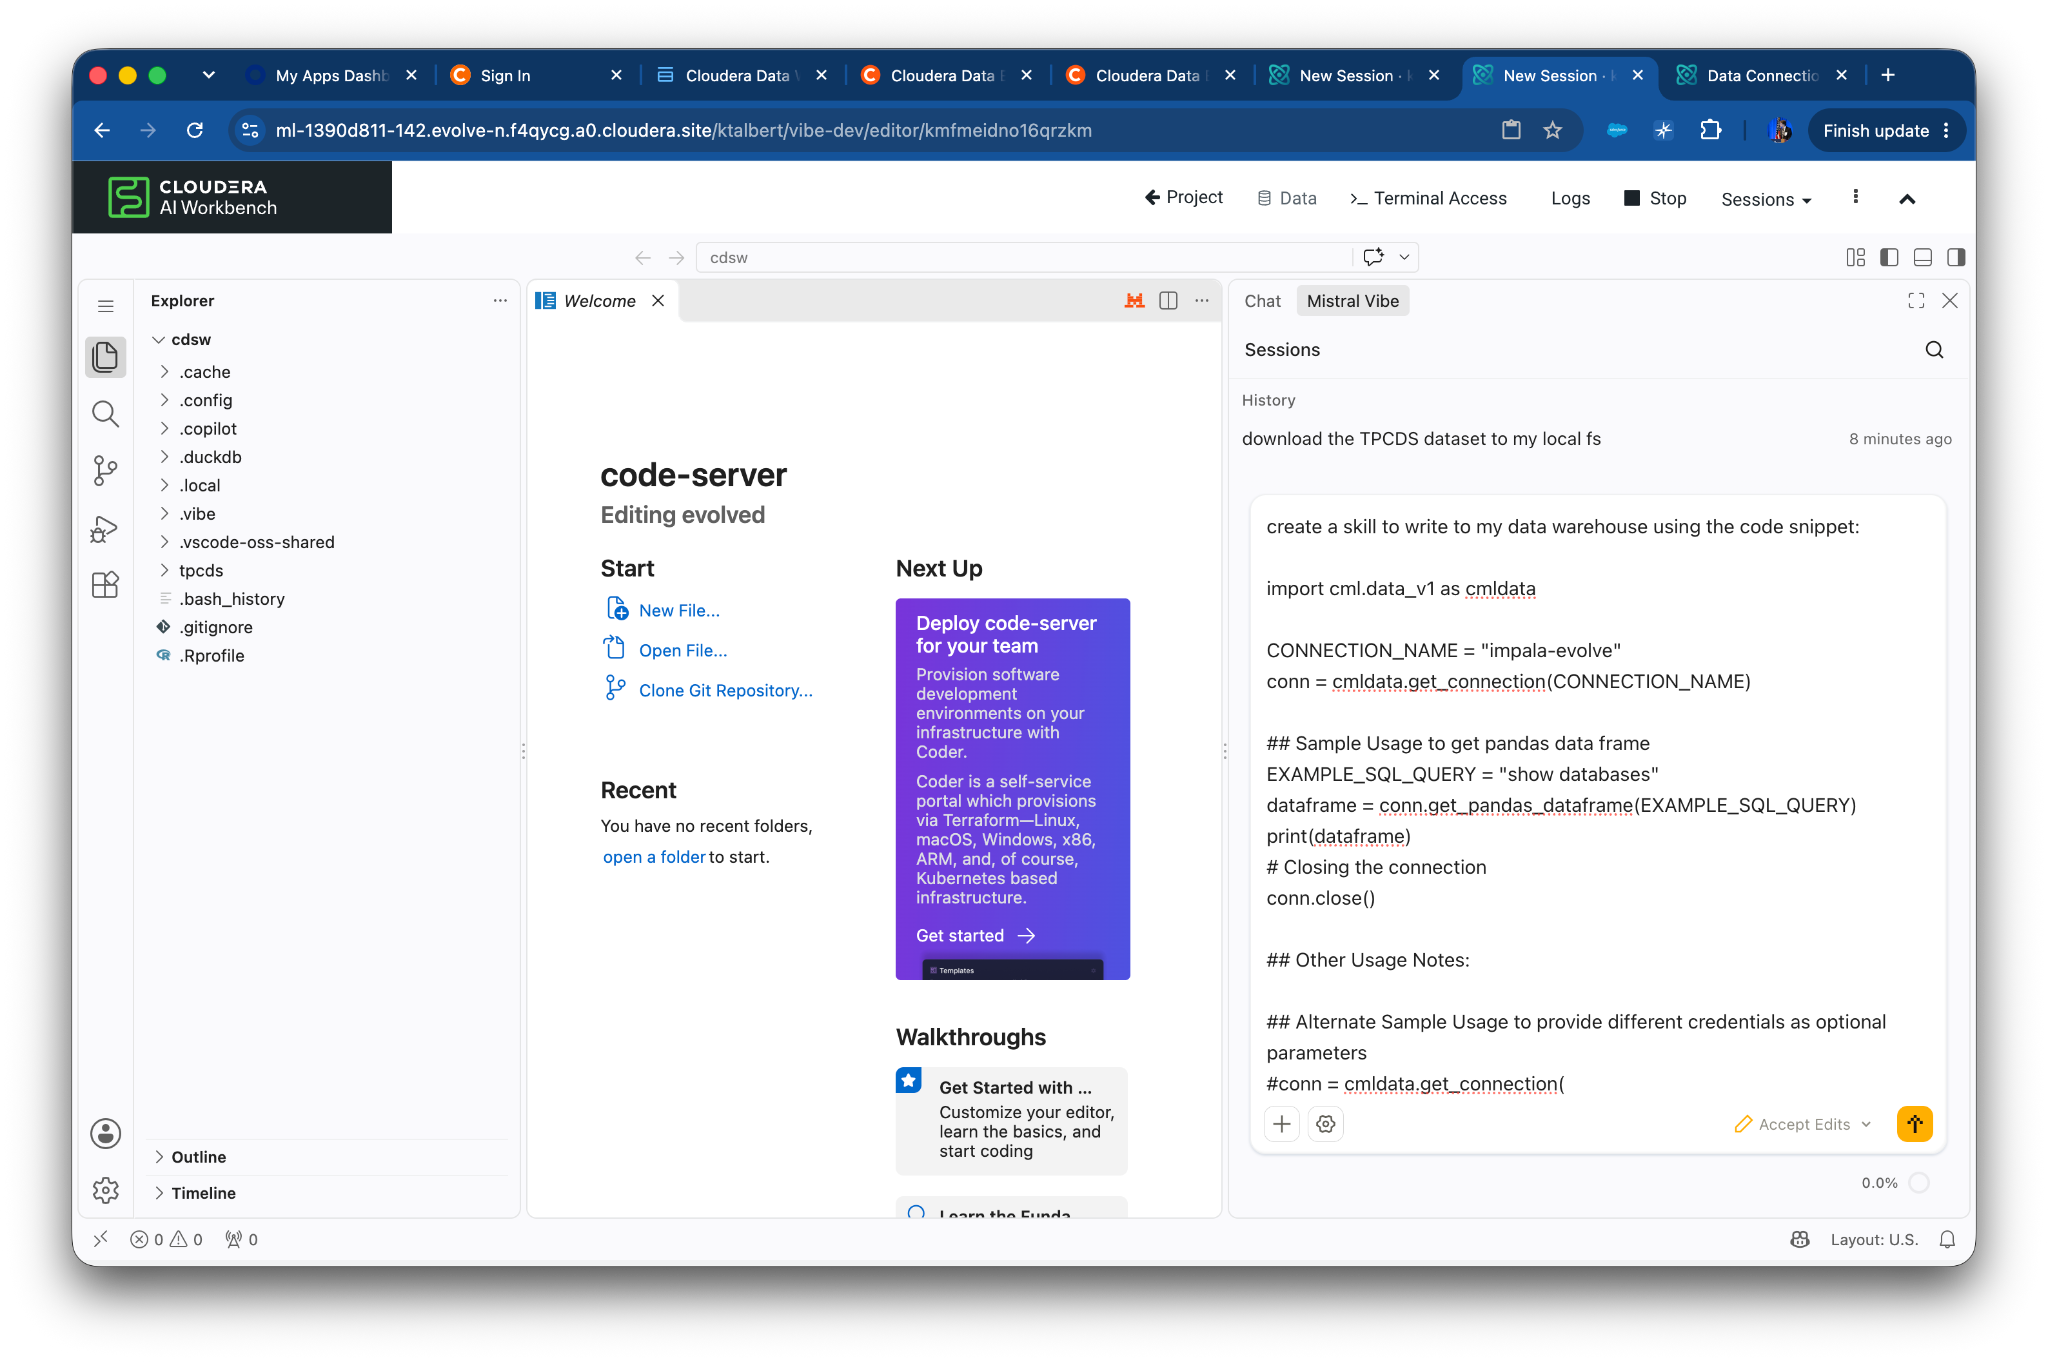
Once complete, open the skill in .vibe/skills or .claude/skills and read what was created.
Vibe:
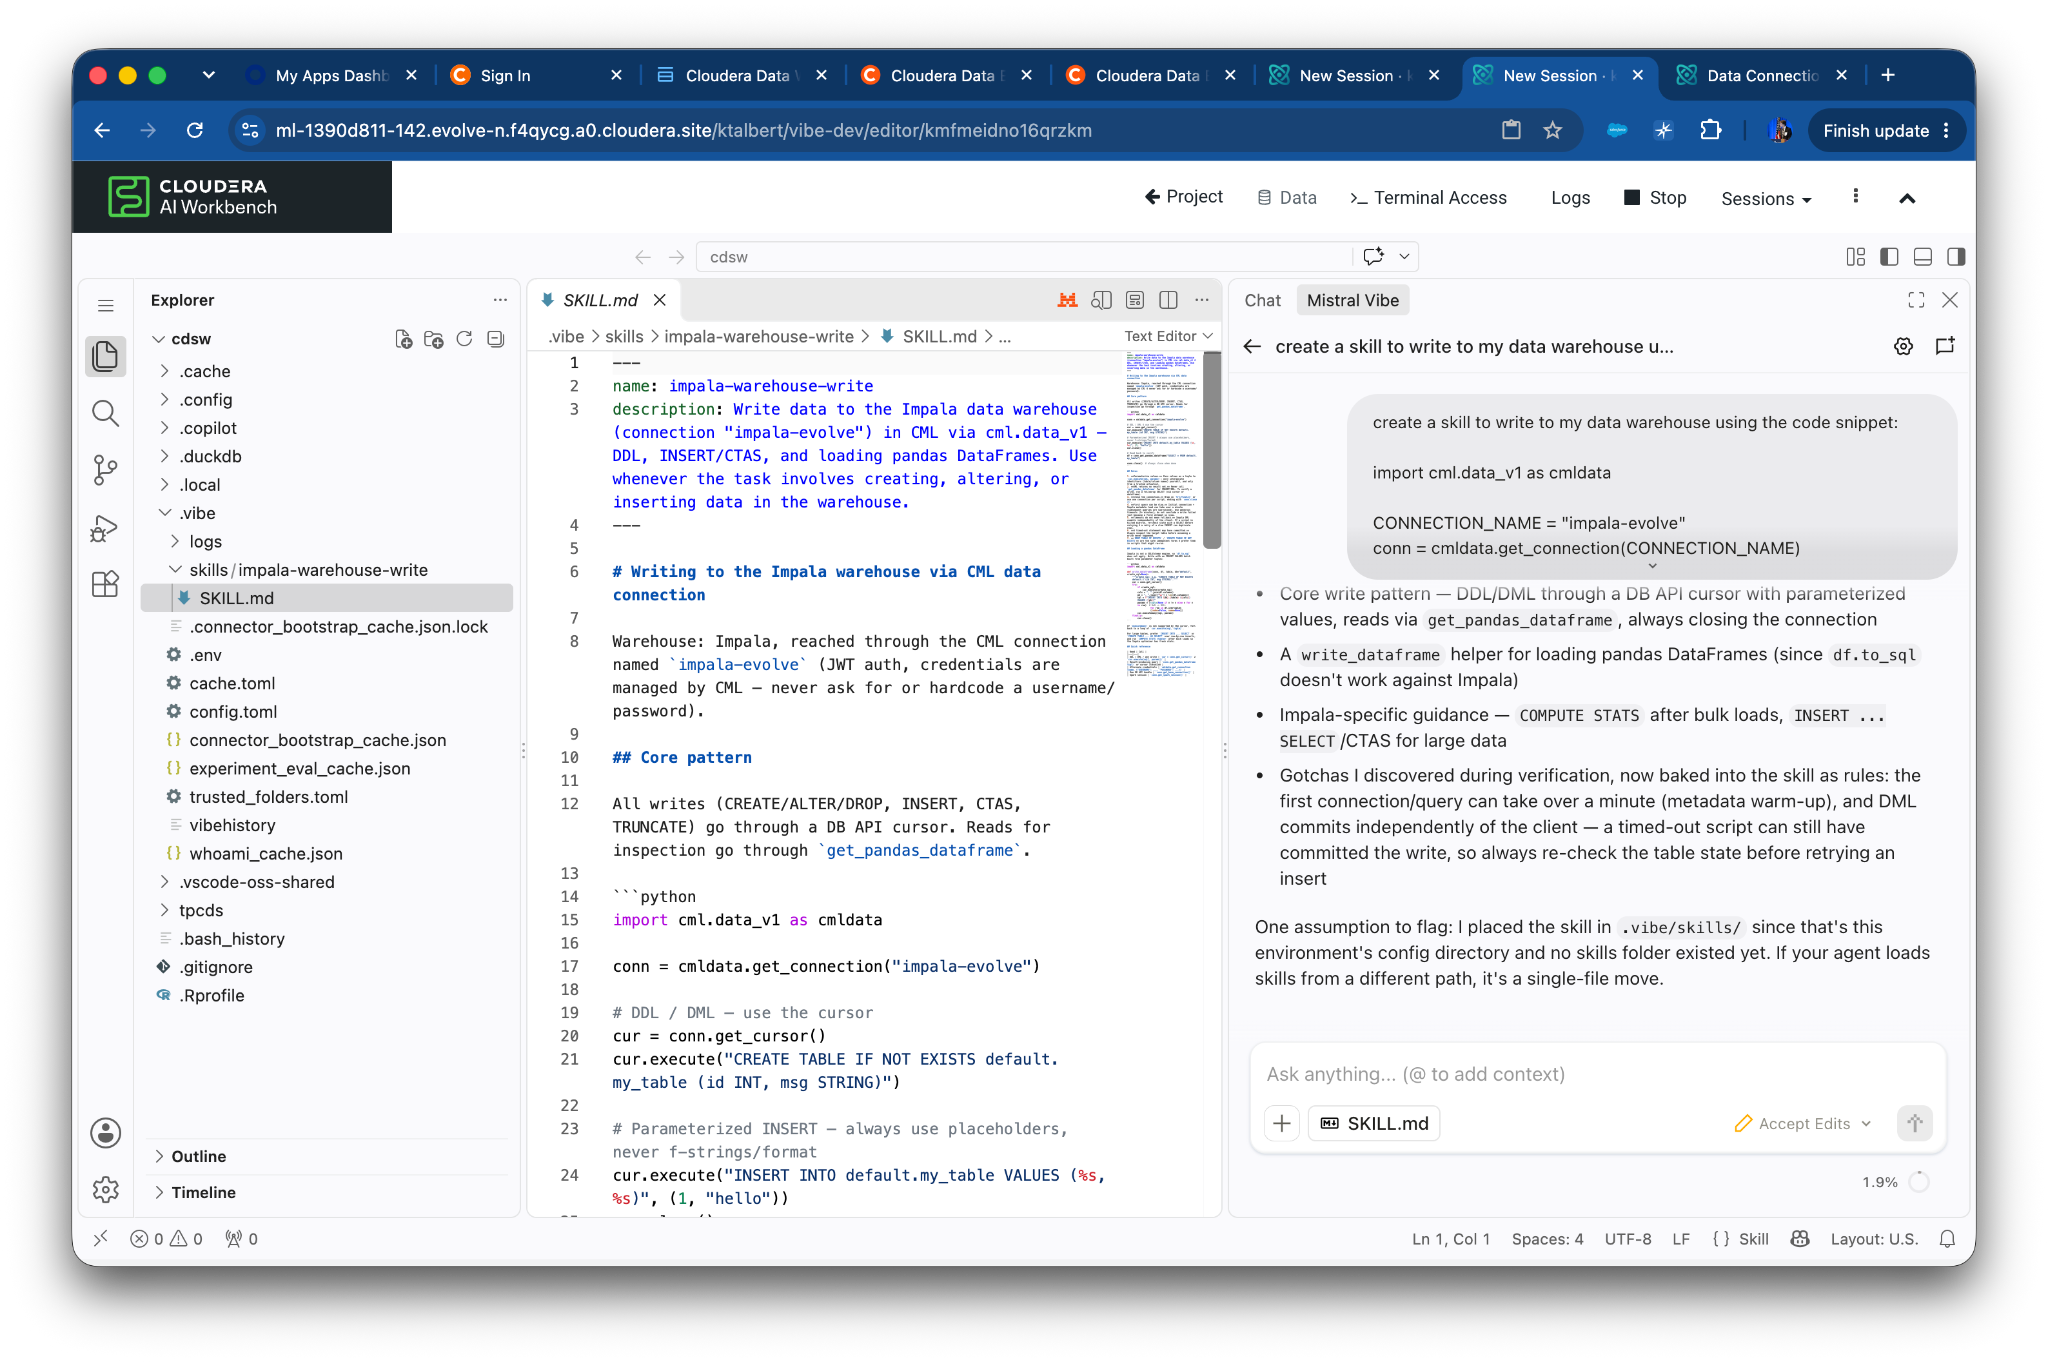
Claude:
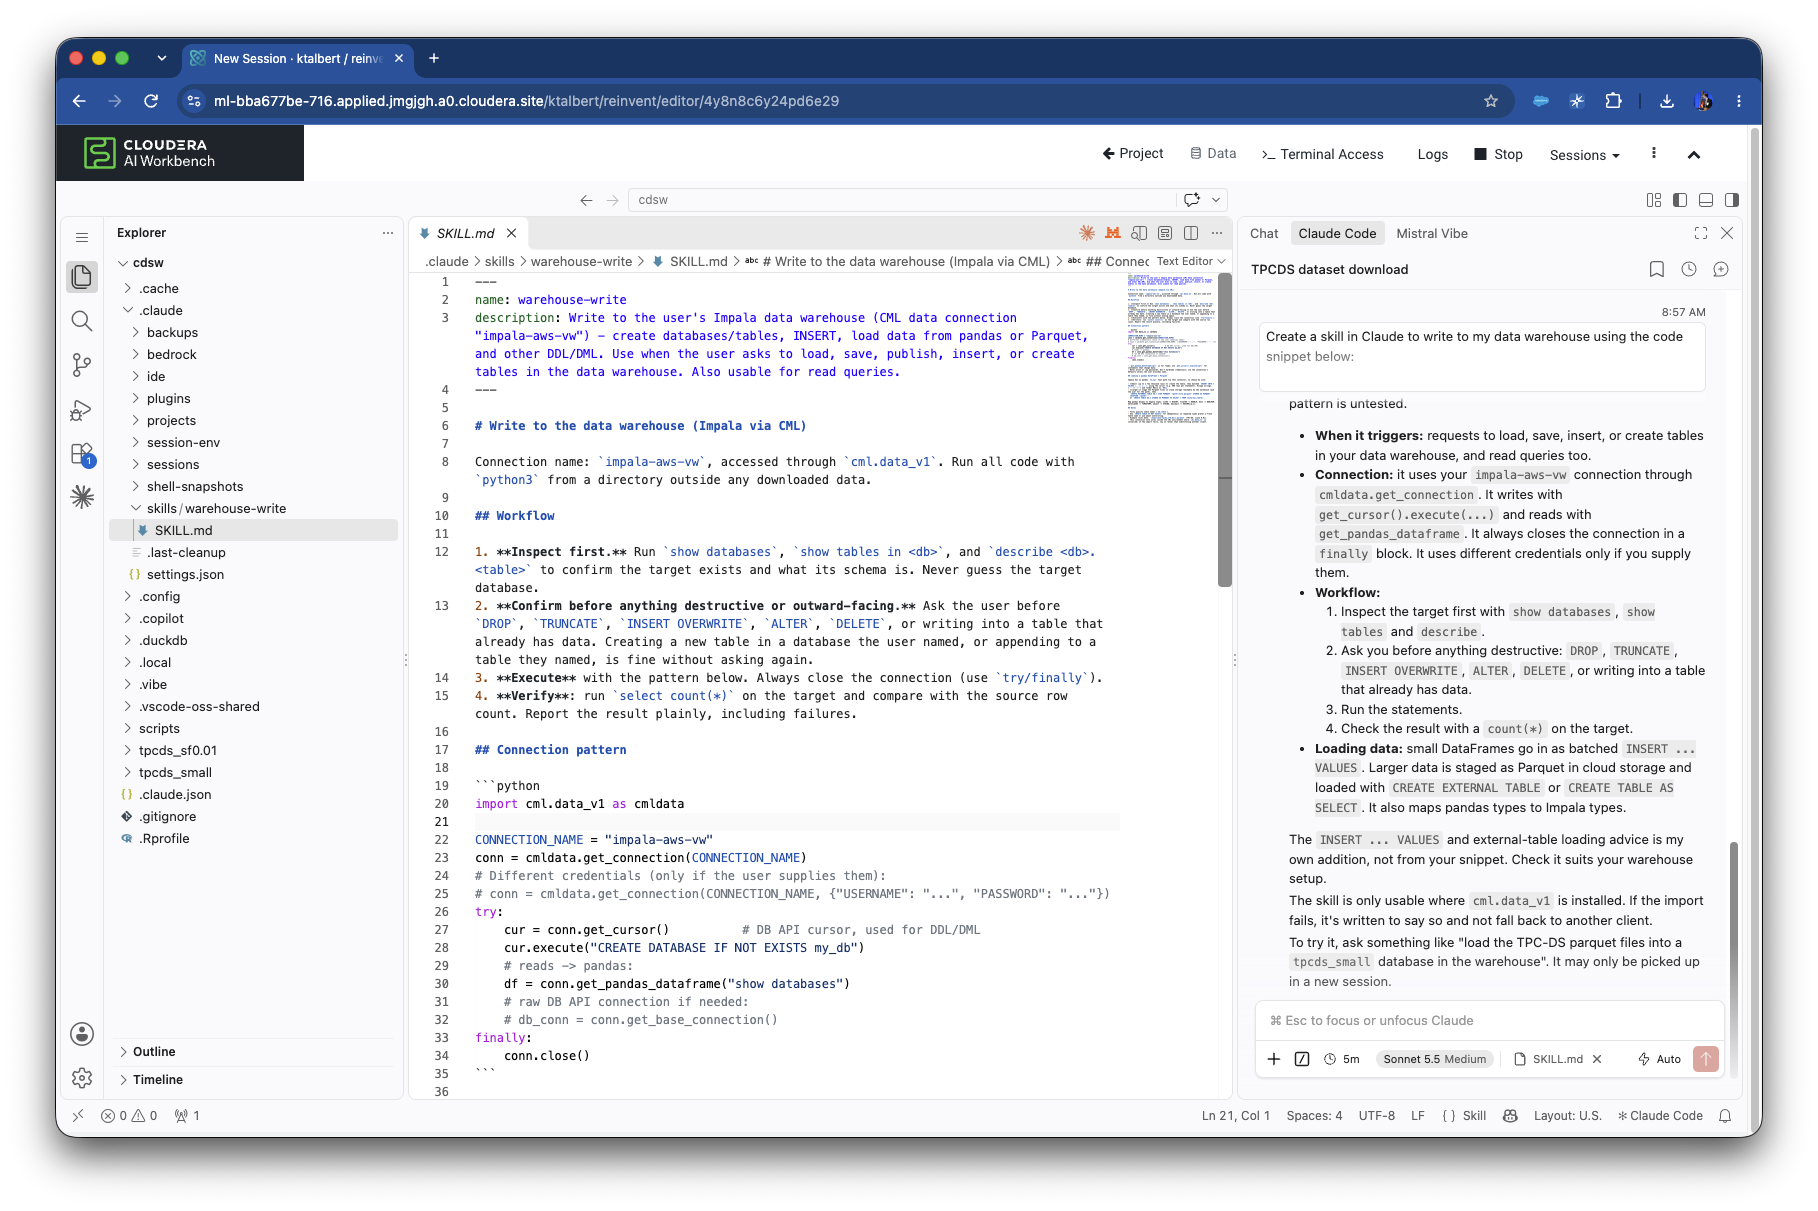
Now lets add guardrails to the created SKILL to prevent unnecessary writes.
Add this prompt (or use your own variation!):
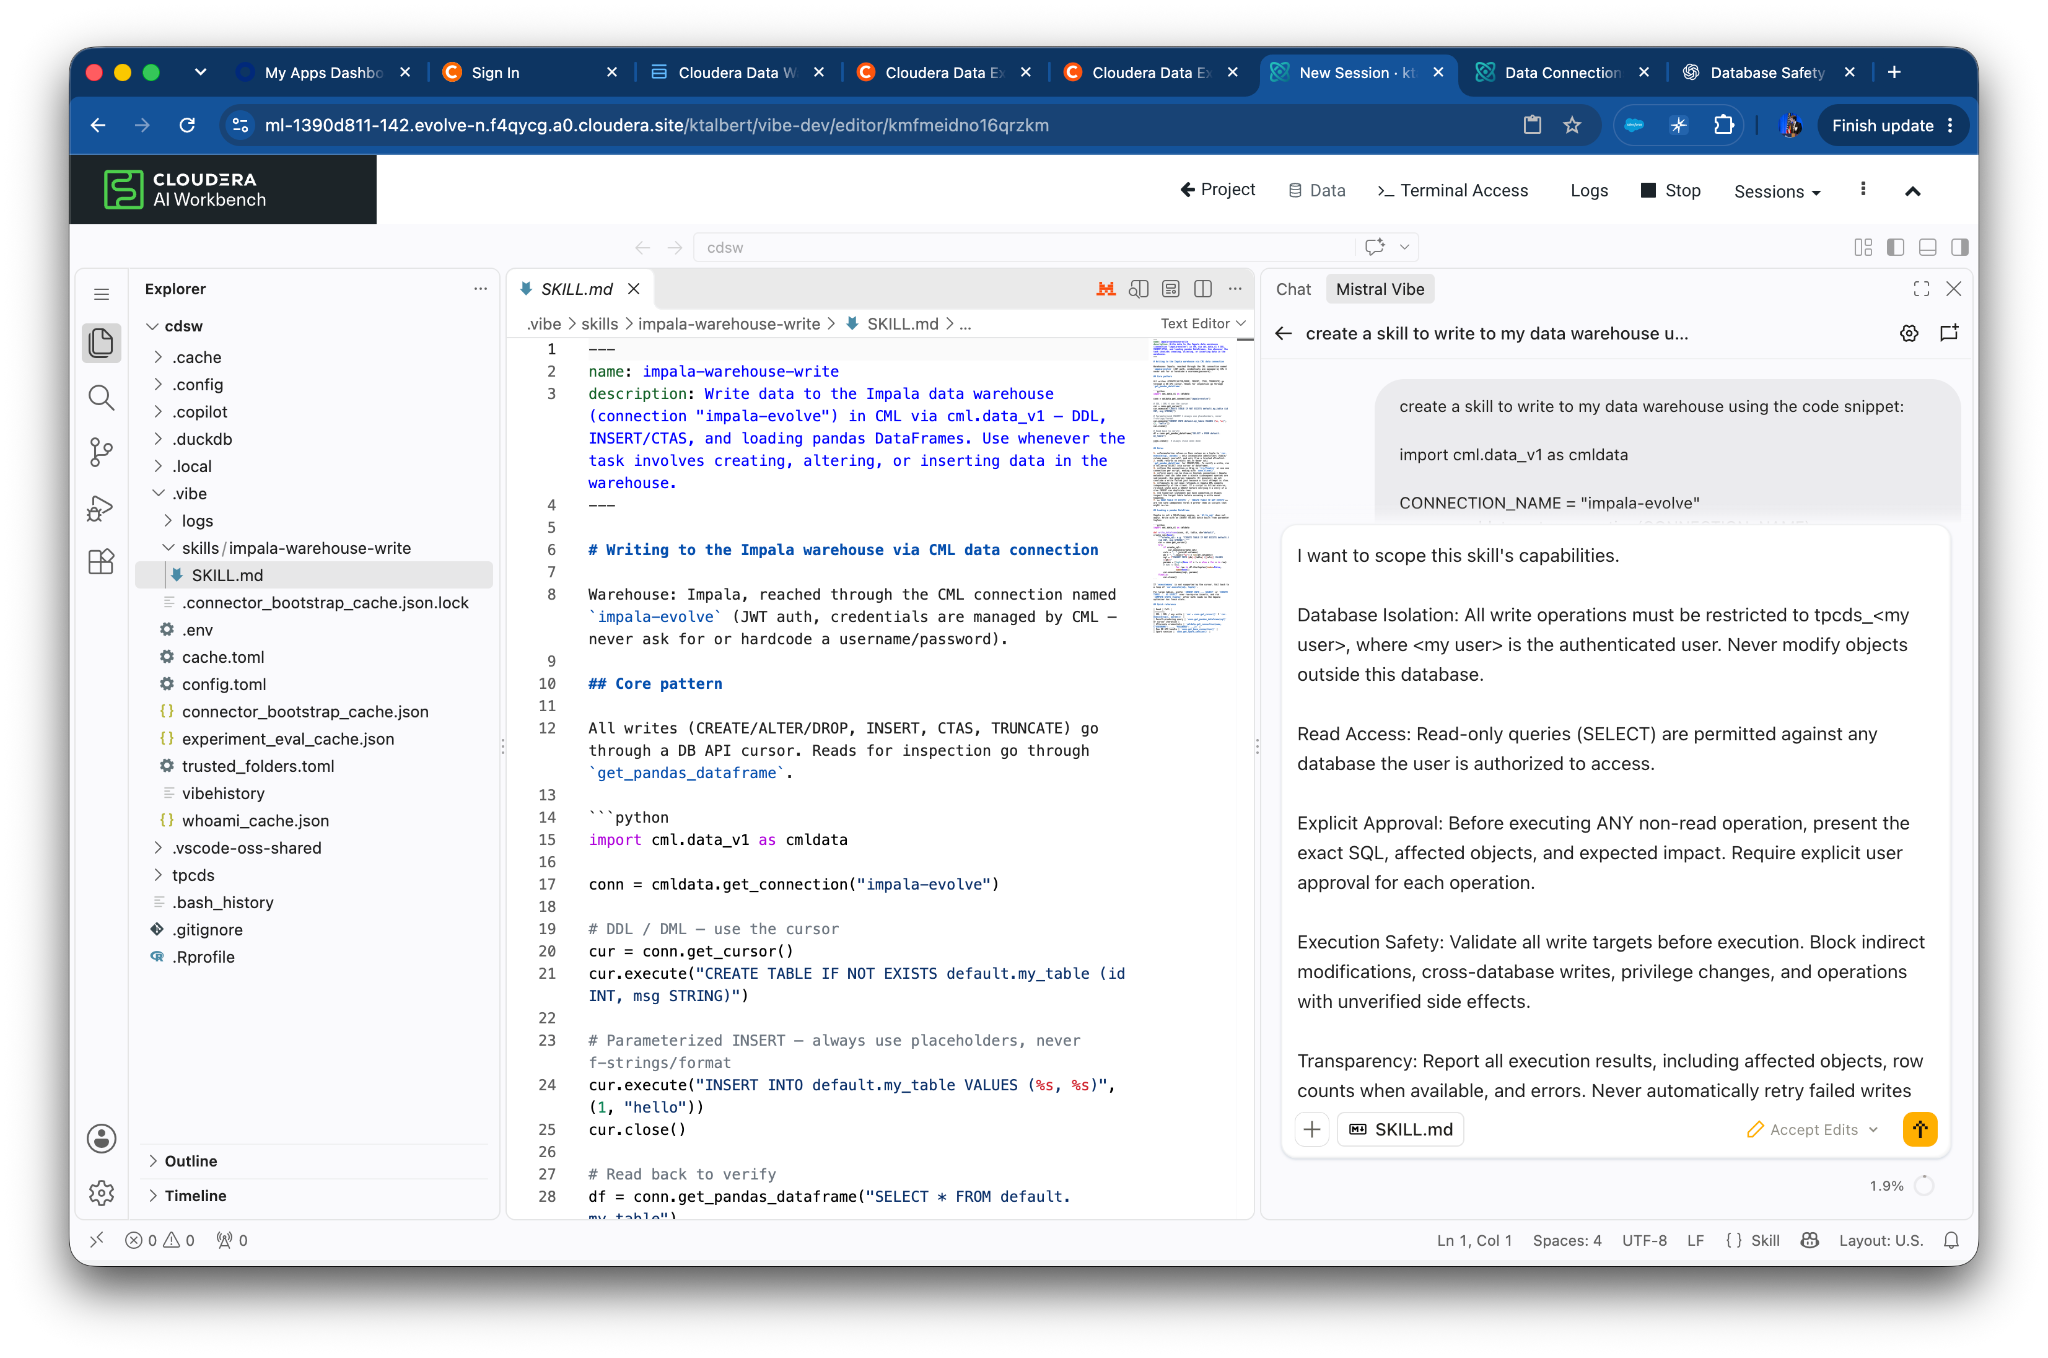
I want to scope this skill's capabilities.

Database Isolation: All write operations must be restricted to
tpcds_<my user>, where <my user> is the authenticated user. You can
find the authenticated user from the environment variable
"PROJECT_OWNER". Never modify objects outside this database.

Read Access: Read-only queries (SELECT) are permitted against any
database the user is authorized to access.

Explicit Approval: Before executing ANY non-read operation, present the
exact SQL, affected objects, and expected impact. Require explicit user
approval for each operation.

Execution Safety: Validate all write targets before execution. Block
indirect modifications, cross-database writes, privilege changes, and
operations with unverified side effects.

Transparency: Report all execution results, including affected objects,
row counts when available, and errors. Never automatically retry failed
writes without renewed approval.
Let's create a set of rules now for interacting with the TPCDS dataset. This will be saved as a SKILL and useful for when we go to interact with this data in the future and need the semantic meaning of the data for proper agent context.\
(adjust prompt if using Claude):
Given the TPCDS dataset we downloaded, I need to come up with a set of
RULES for interacting with the data. Since I dont know what all fields
are in the dataset, research the dataset schema/DDL and propose RULES we
can use as a business glossary for the data. Add this as a Vibe Skill.
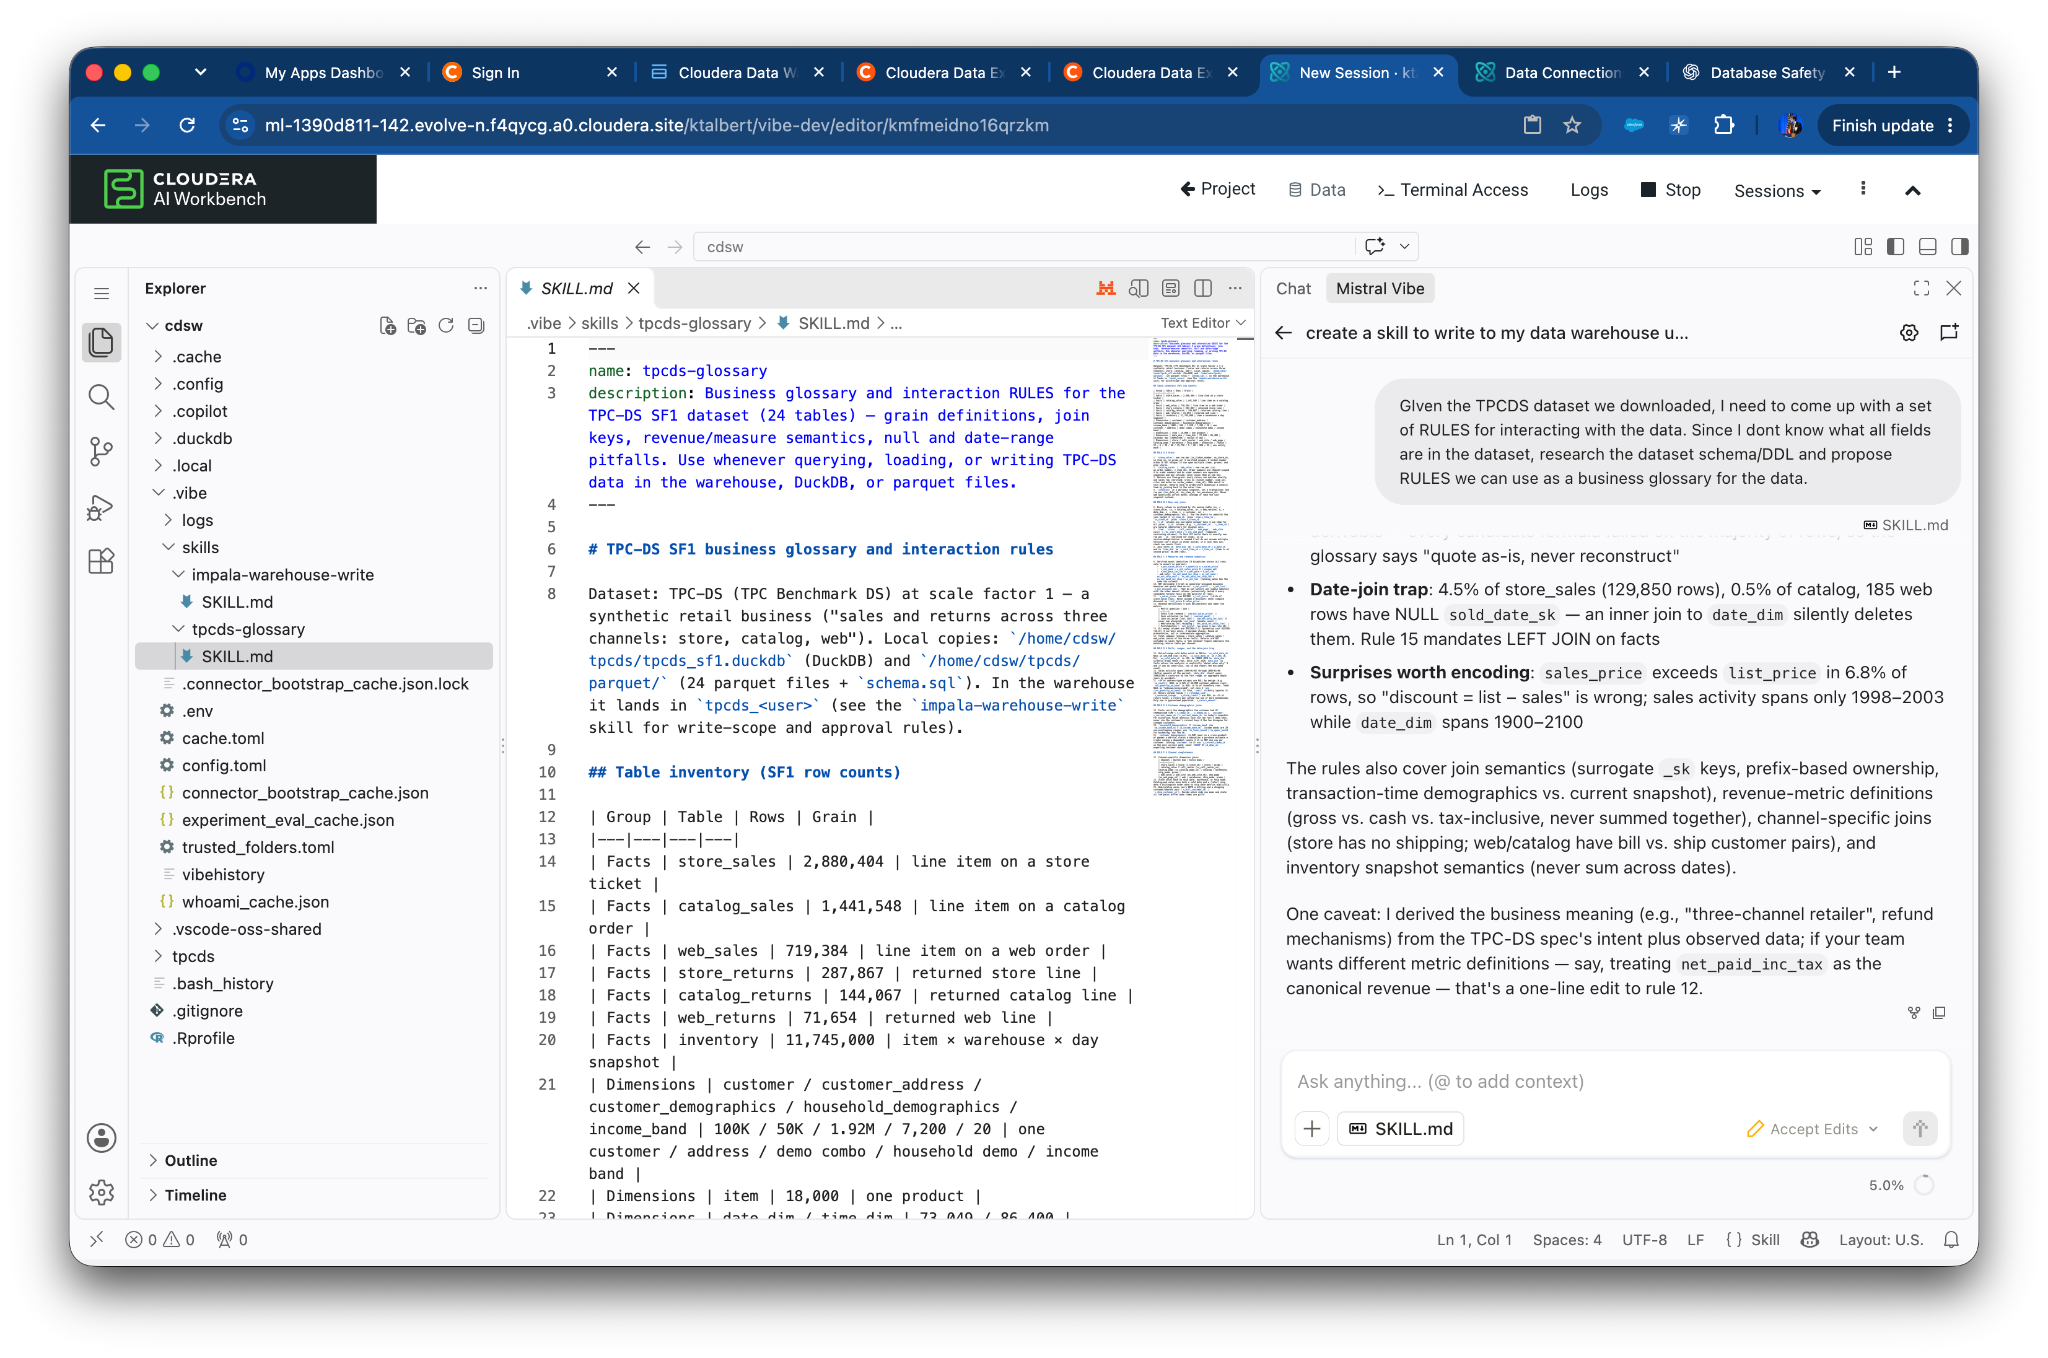
Open the skill from the .vibe/skills folder once completed and modify if you feel necessary.
Now lets actually use our SKILLS and load the data into our Data Warehouse for repeatable, scalable analytics.
Start by adding the SKILLS context:
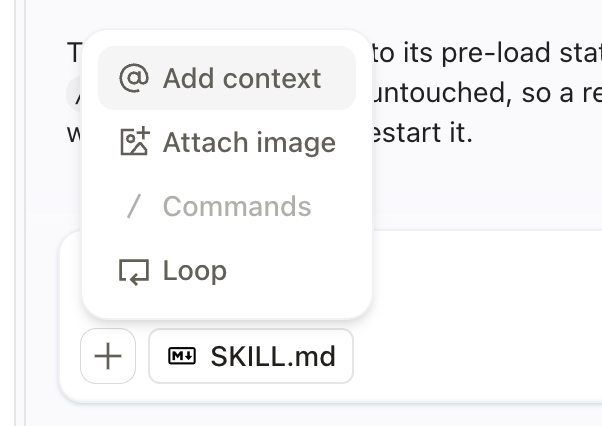
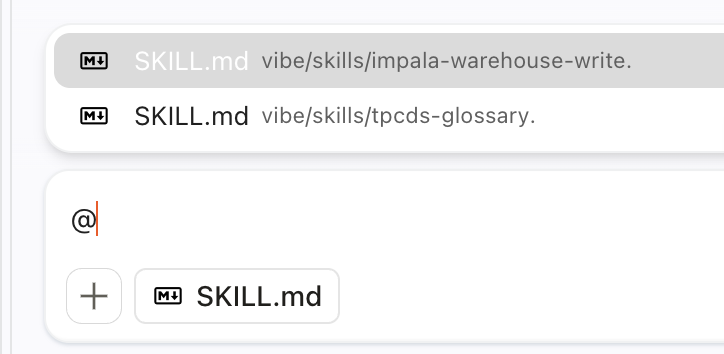
Due to the table sizes, we will just load two tables. (feel free to pick
any two tables – I picked “call_center” and “customer”):
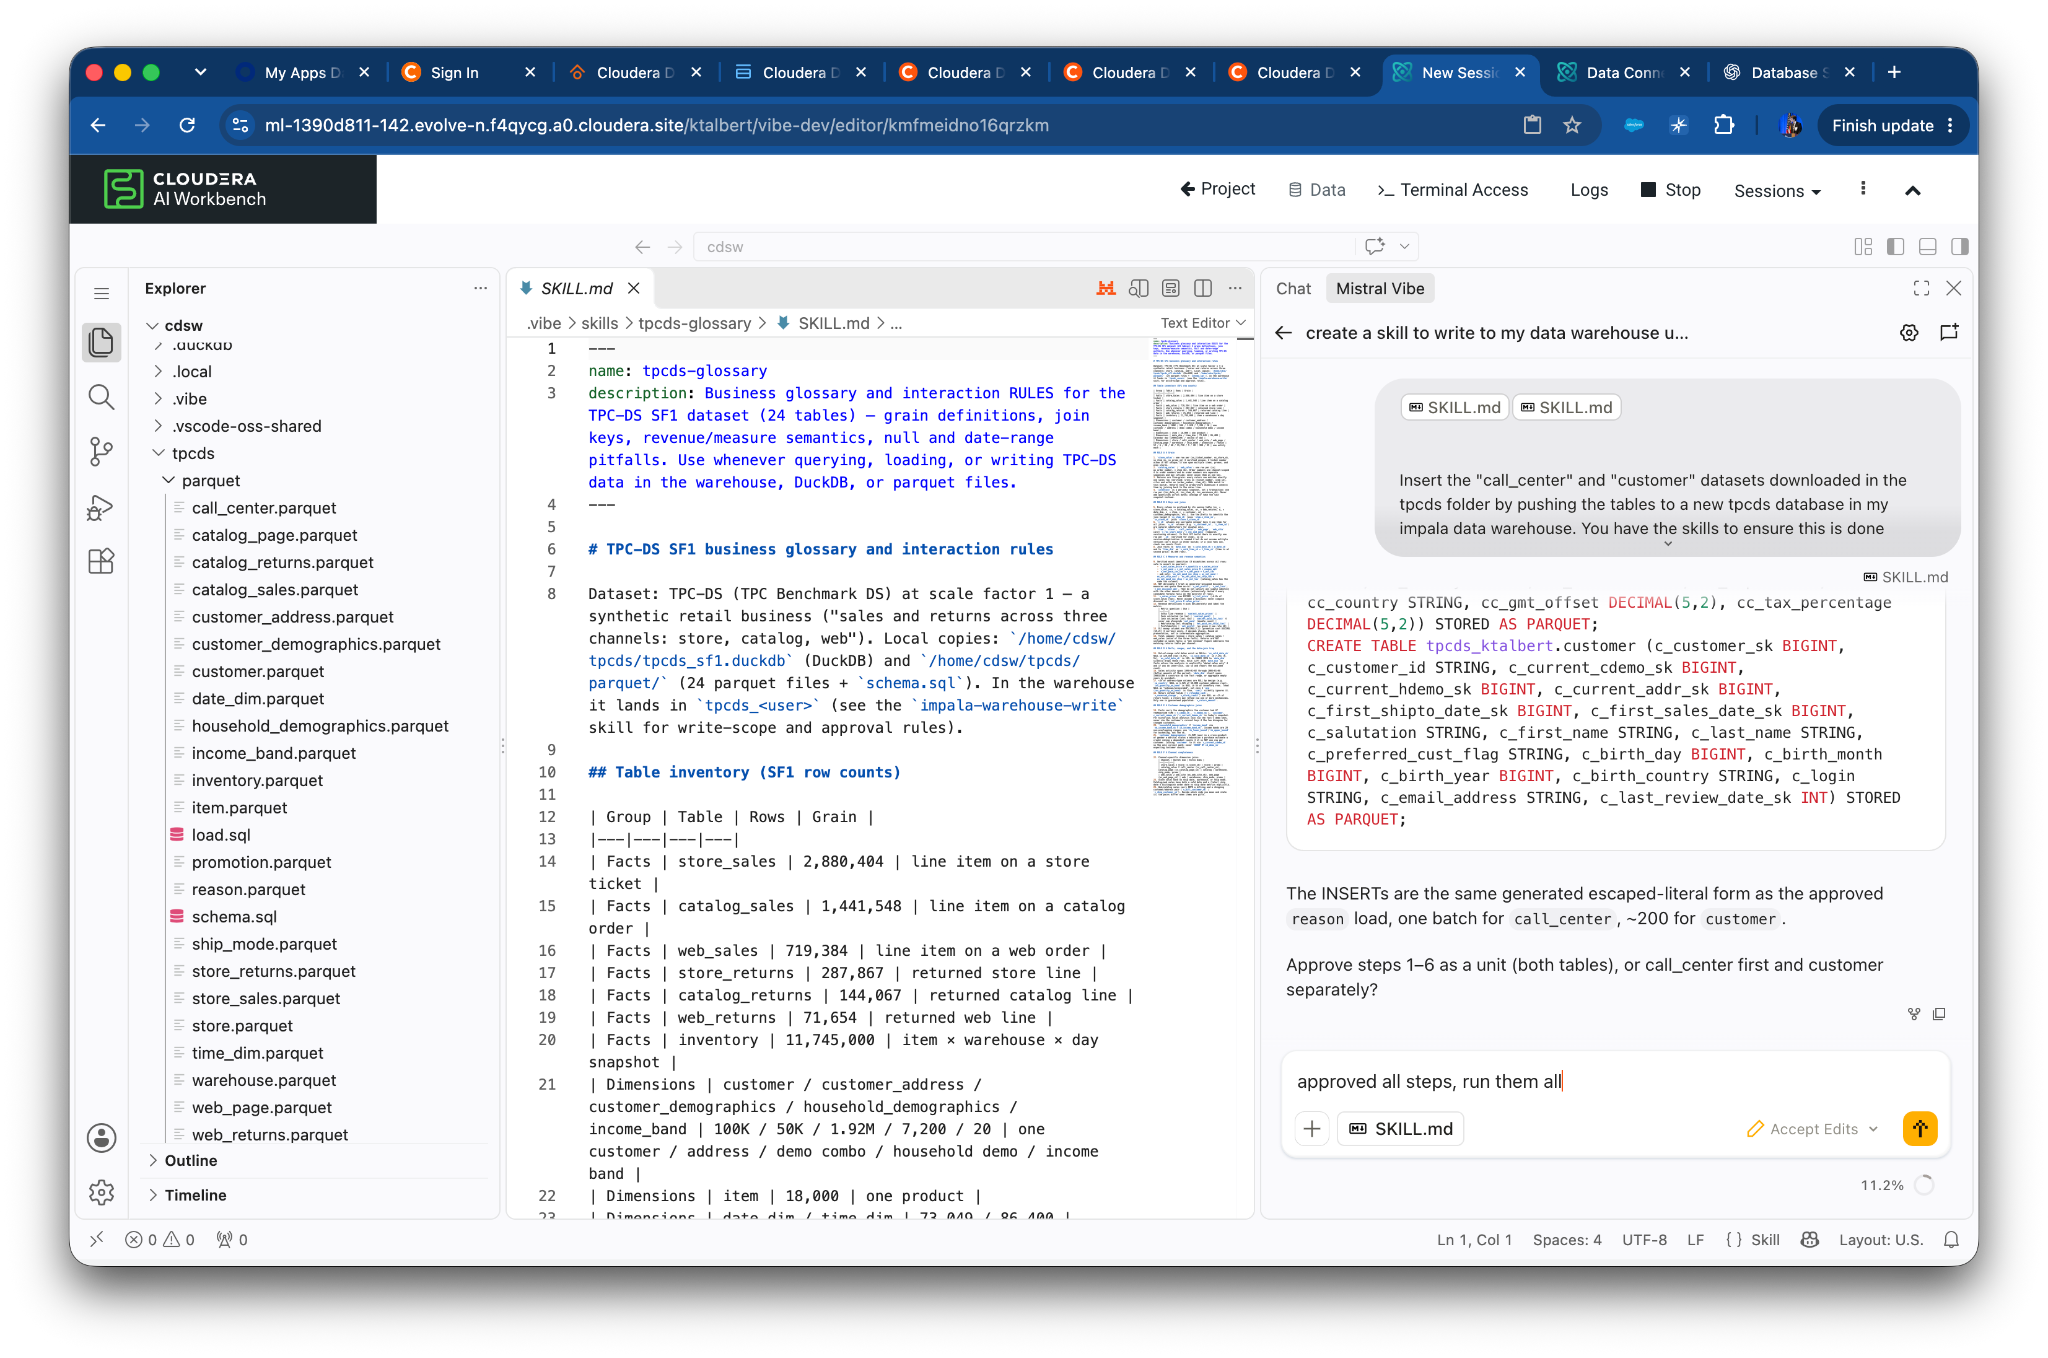
Insert the "call_center" and "customer" datasets downloaded in the
tpcds folder by pushing the tables to a new tpcds database in my impala
data warehouse. You have the skills to ensure this is done compliantly.

You are to identify the most practical, best way to load them each
successively.

Generate a plan to run this in the foreground.
Now, review and accept the plan. Make any necessary changes to the plan before building.
Vibe:
Claude:
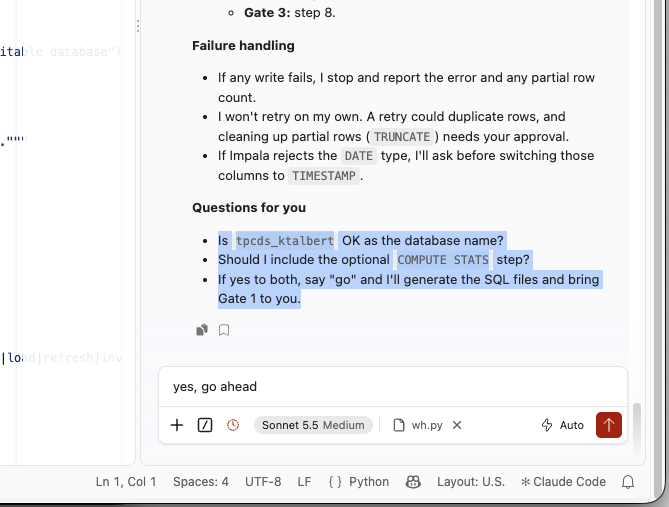
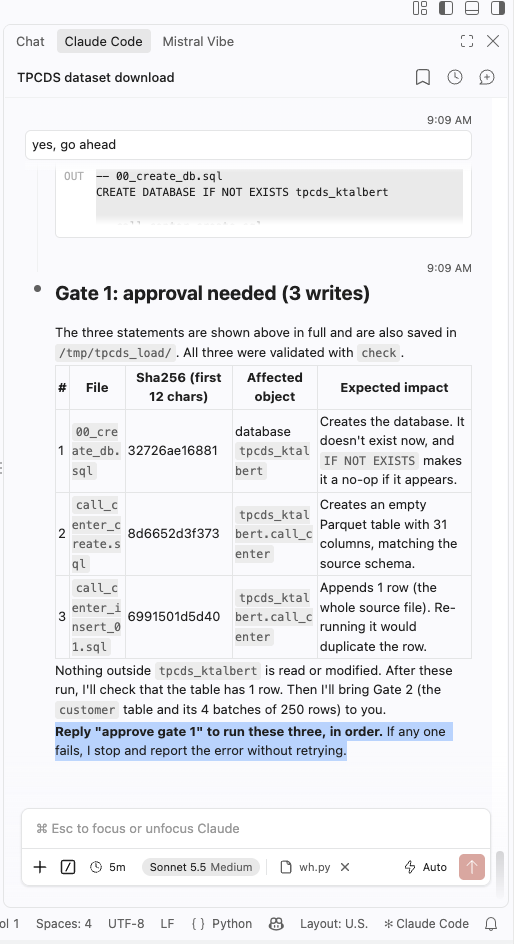
Note, if you have issues at any point with the prompts provided, write your own to steer the agent to get back on track.
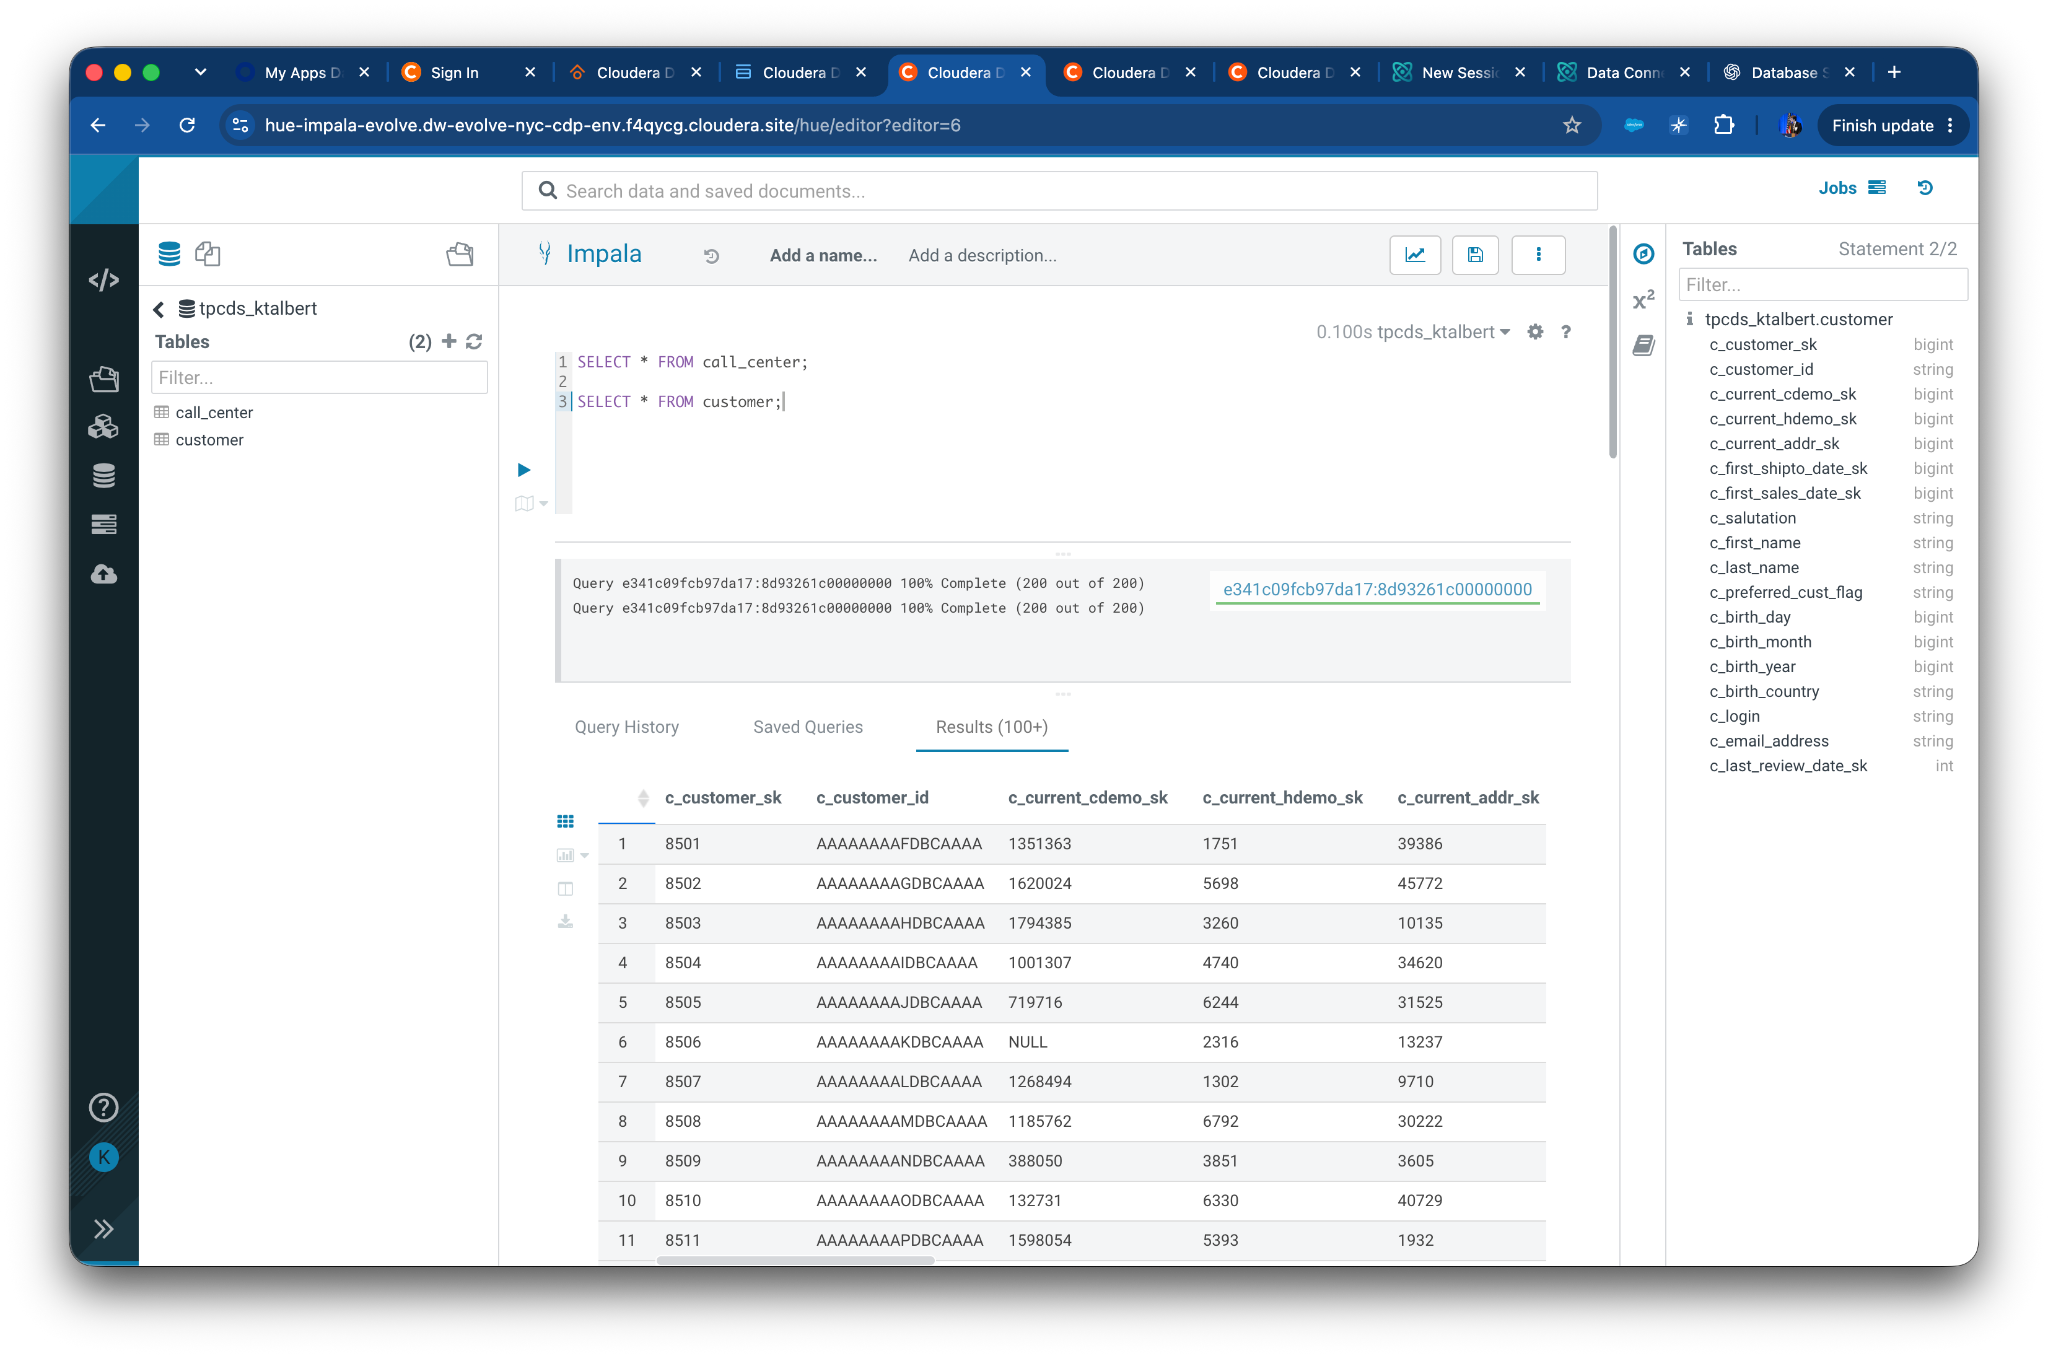
You can query the data now in your Data Warehouse directly via Data Explorer.
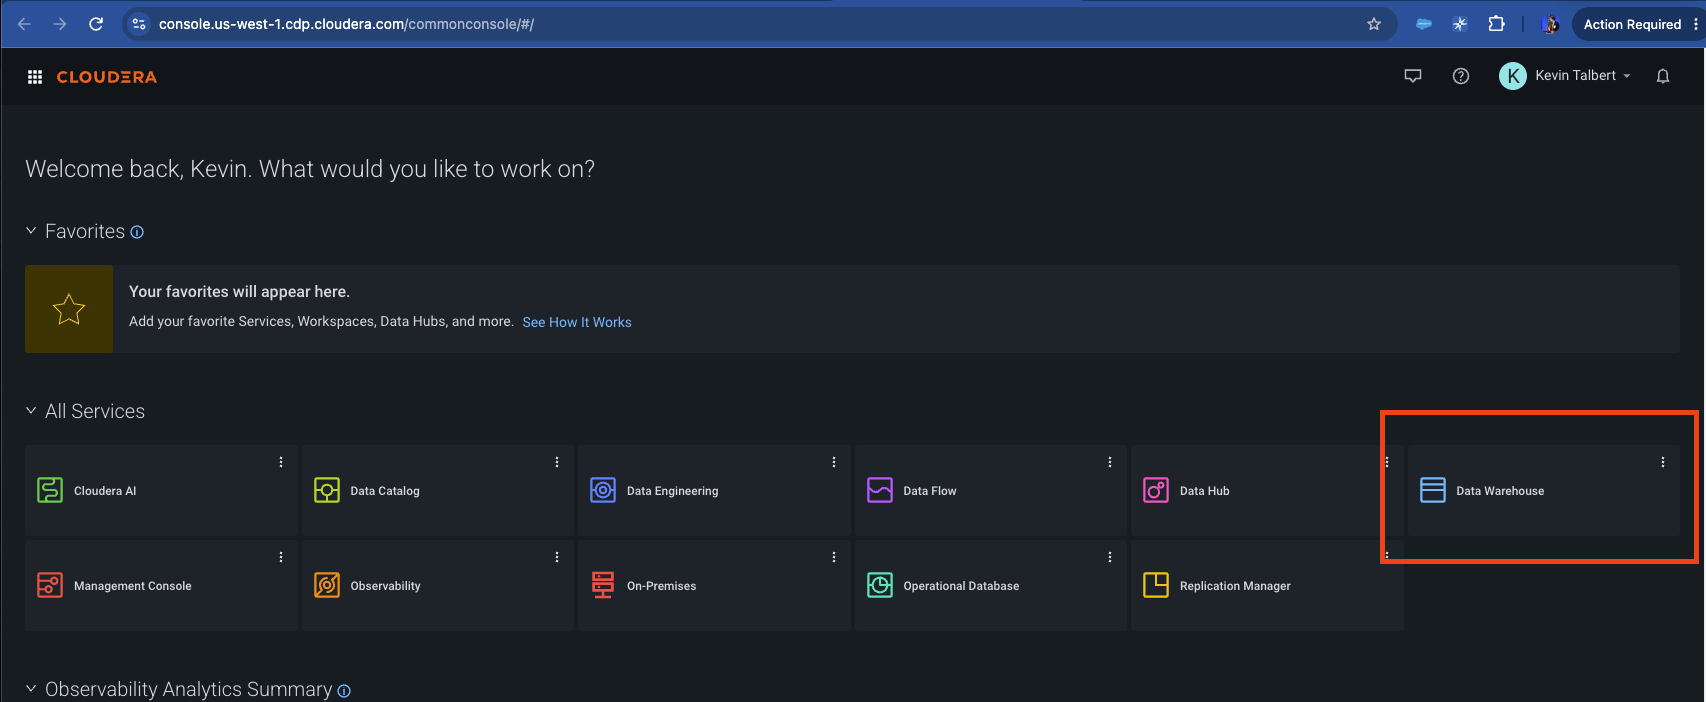
(Navigate back to the Homepage and go to Data Warehouse → Virtual Warehouses → Select the Impala warehouse “Data Explorer”)
<img
src="images/image38.png" />:
SELECT * FROM tpcds_yourdbname.call_center LIMIT 10;

SELECT * FROM tpcds_yourdbname.customers LIMIT 10;

# db/tables based on which tables you had Vibe write to the data
warehouse
Now that we have data loaded, let’s build a dashboard for our business
analysts.:
Using my locally saved TPC-DS dataset, build an interactive Customer
360 dashboard in Python using Streamlit.

The dashboard should include:

> Customer Selection: A searchable dropdown of all customers, sorted
> alphabetically by name.
>
> Customer Profile: Display available customer details, including
> demographics, address, and contact information.
>
> Purchase History: Show transactions across all available sales
> channels, including purchase dates, products, quantities, and
> spending.
>
> Customer Insights: Highlight key metrics such as lifetime spend, total
> orders, average order value, and favorite product categories.
>
> Visualizations: Include interactive charts showing spending trends,
> purchasing patterns, and product category breakdowns.

Explore the available TPC-DS tables saved locally, identify the
necessary relationships, and build the complete application using real
data. Do not generate mock data.

Success criteria: The finished Streamlit dashboard launches successfully
within Cloudera AI, allows users to select any customer, and dynamically
displays their Customer 360 view.
Select “Open in Browser”. If the link goes away, click the bell icon to see the link again. If the link doesn’t pop up, tell steer Vibe by telling it to start the application.
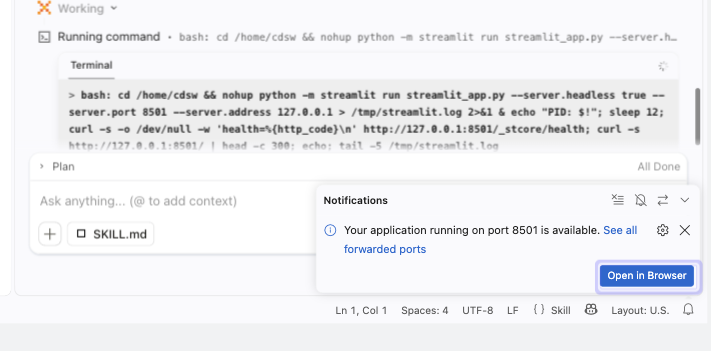
More than likely, this step will take a few custom prompts of your own. This is expected behavior and all part of the vibe coding process. You should aim for a high quality dashboard that demonstrates a story worth showing to your line of business leadership!
Once you are happy with your dashboard, we need to host it so others can use it too.
We can build a SKILL for publishing Streamlit dashboards as Cloudera AI Applications.
Use this prompt to create a SKILL to get a publish-ready dashboard.:
Building a Streamlit dashboard as a Cloudera AI Application requires a
few special handling considerations. Build a Skill in Vibe called
"Streamlit in CAI Apps Skill" that will be useful for building a python
Streamlit application on Cloudera AI in the future.\
\
Use my example Streamlit app for how to build one in Cloudera AI.\
https://github.com/cloudera/CML_AMP_Streamlit_on_CML
Check out the created skill:
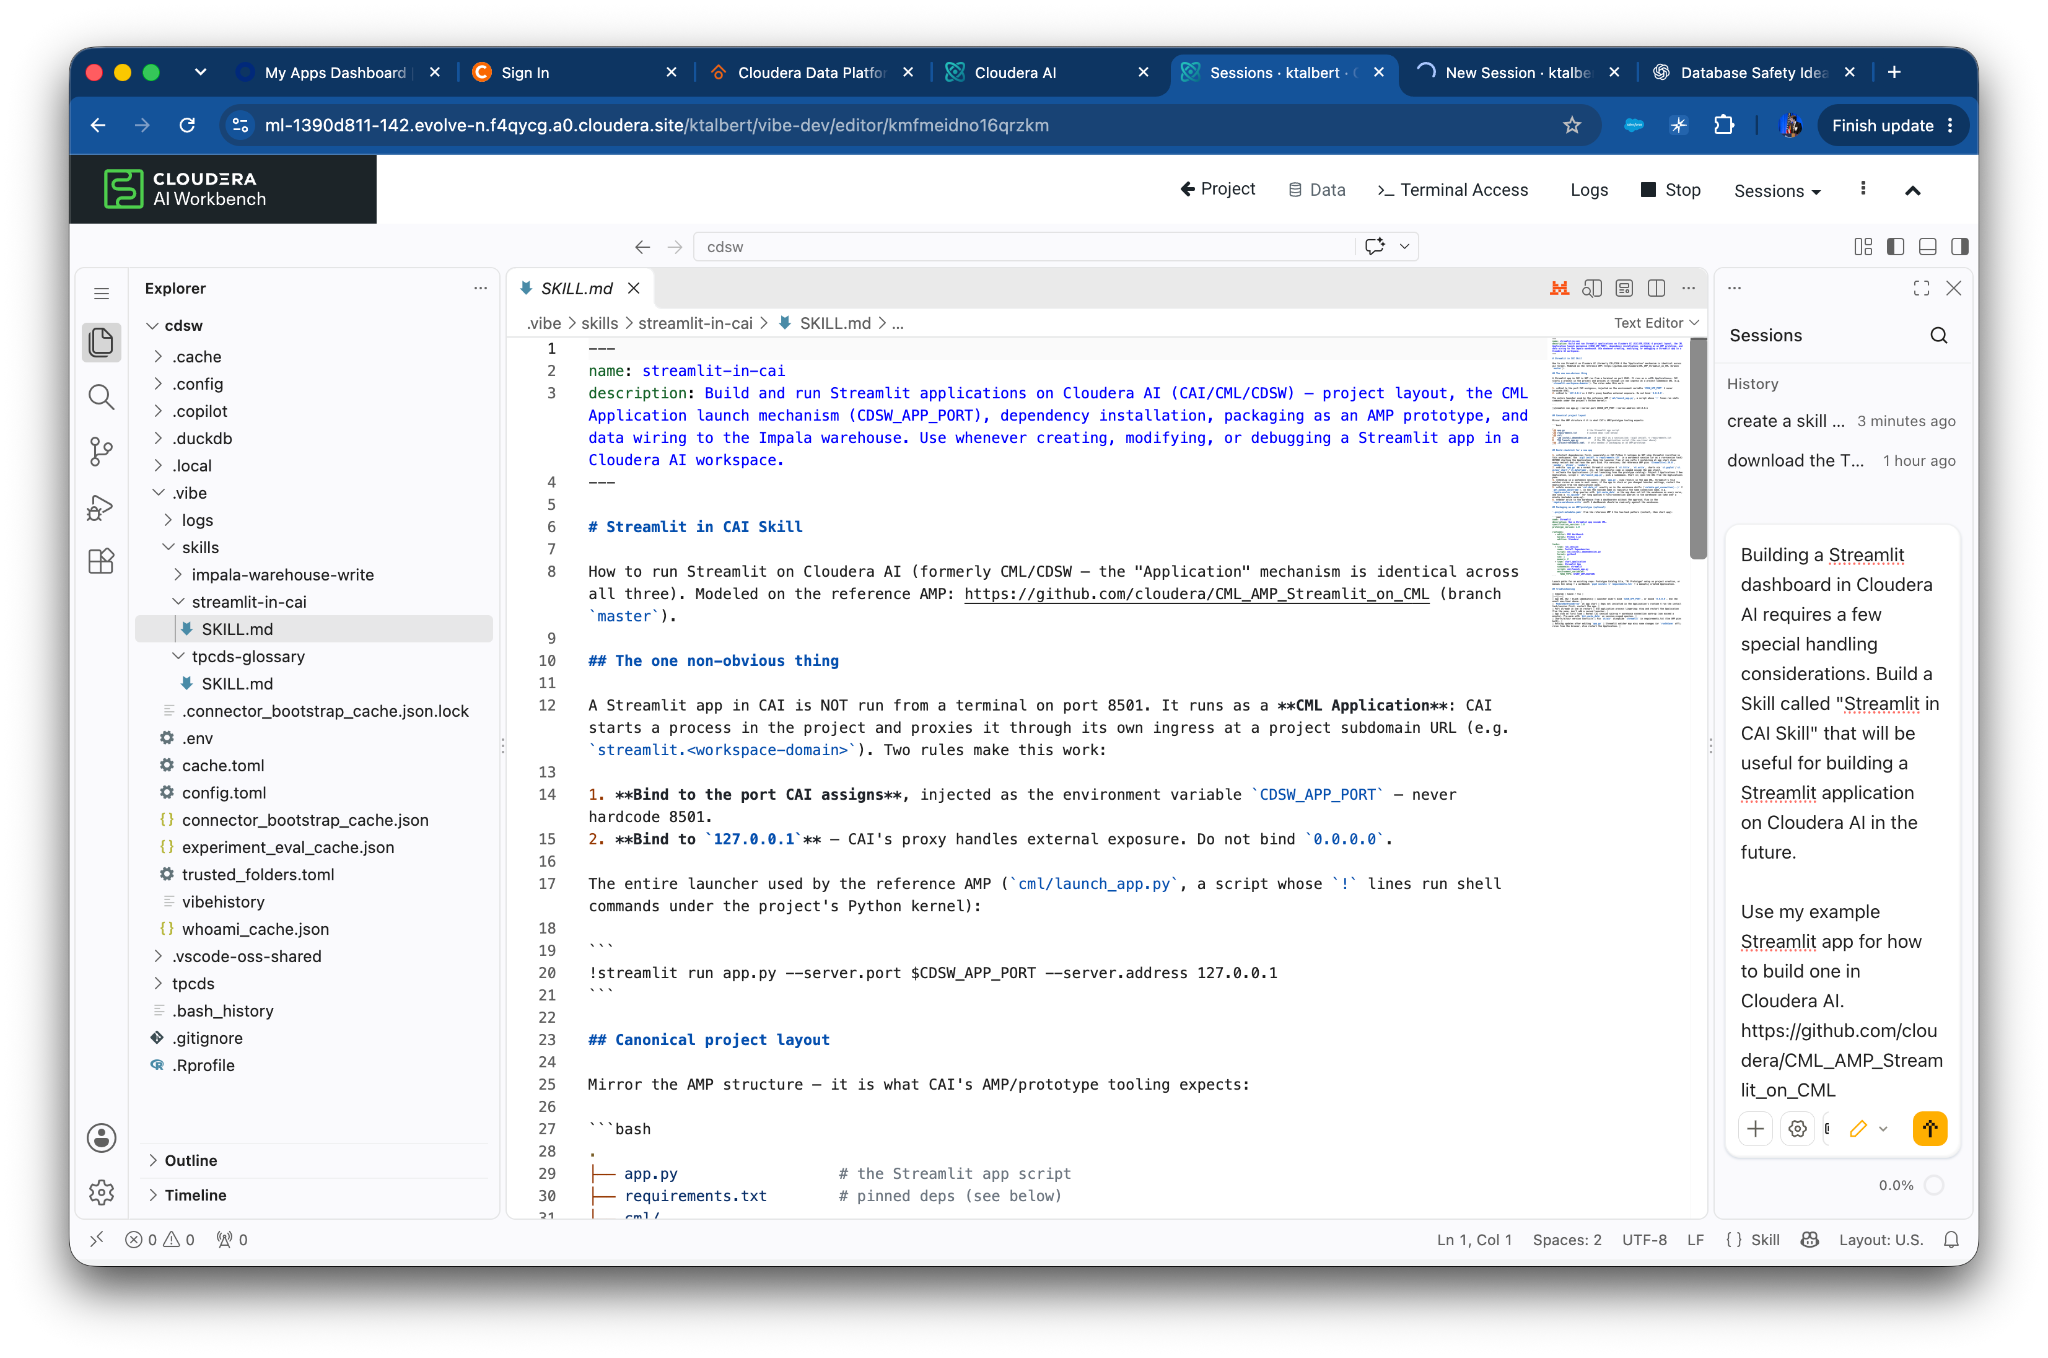
Note: You may also wish to git clone that Streamlit dashboard (https://github.com/cloudera/CML_AMP_Streamlit_on_CML) if you deal with any hallucinations as a good starting point. It’s not a requirement but may reduce cycles steering.
Now let's build the dashboard. Try this prompt:
Using the built dashboard, get it ready to run on Cloudera AI as an
application. Use the skill to generate the launch app file and share in
chat the exact location for it.
Once complete, you will need to launch the Application via the Application UI in Cloudera AI (or prompt AI to use the CML API to launch an application!)
Navigate to the Applications tab of your project:
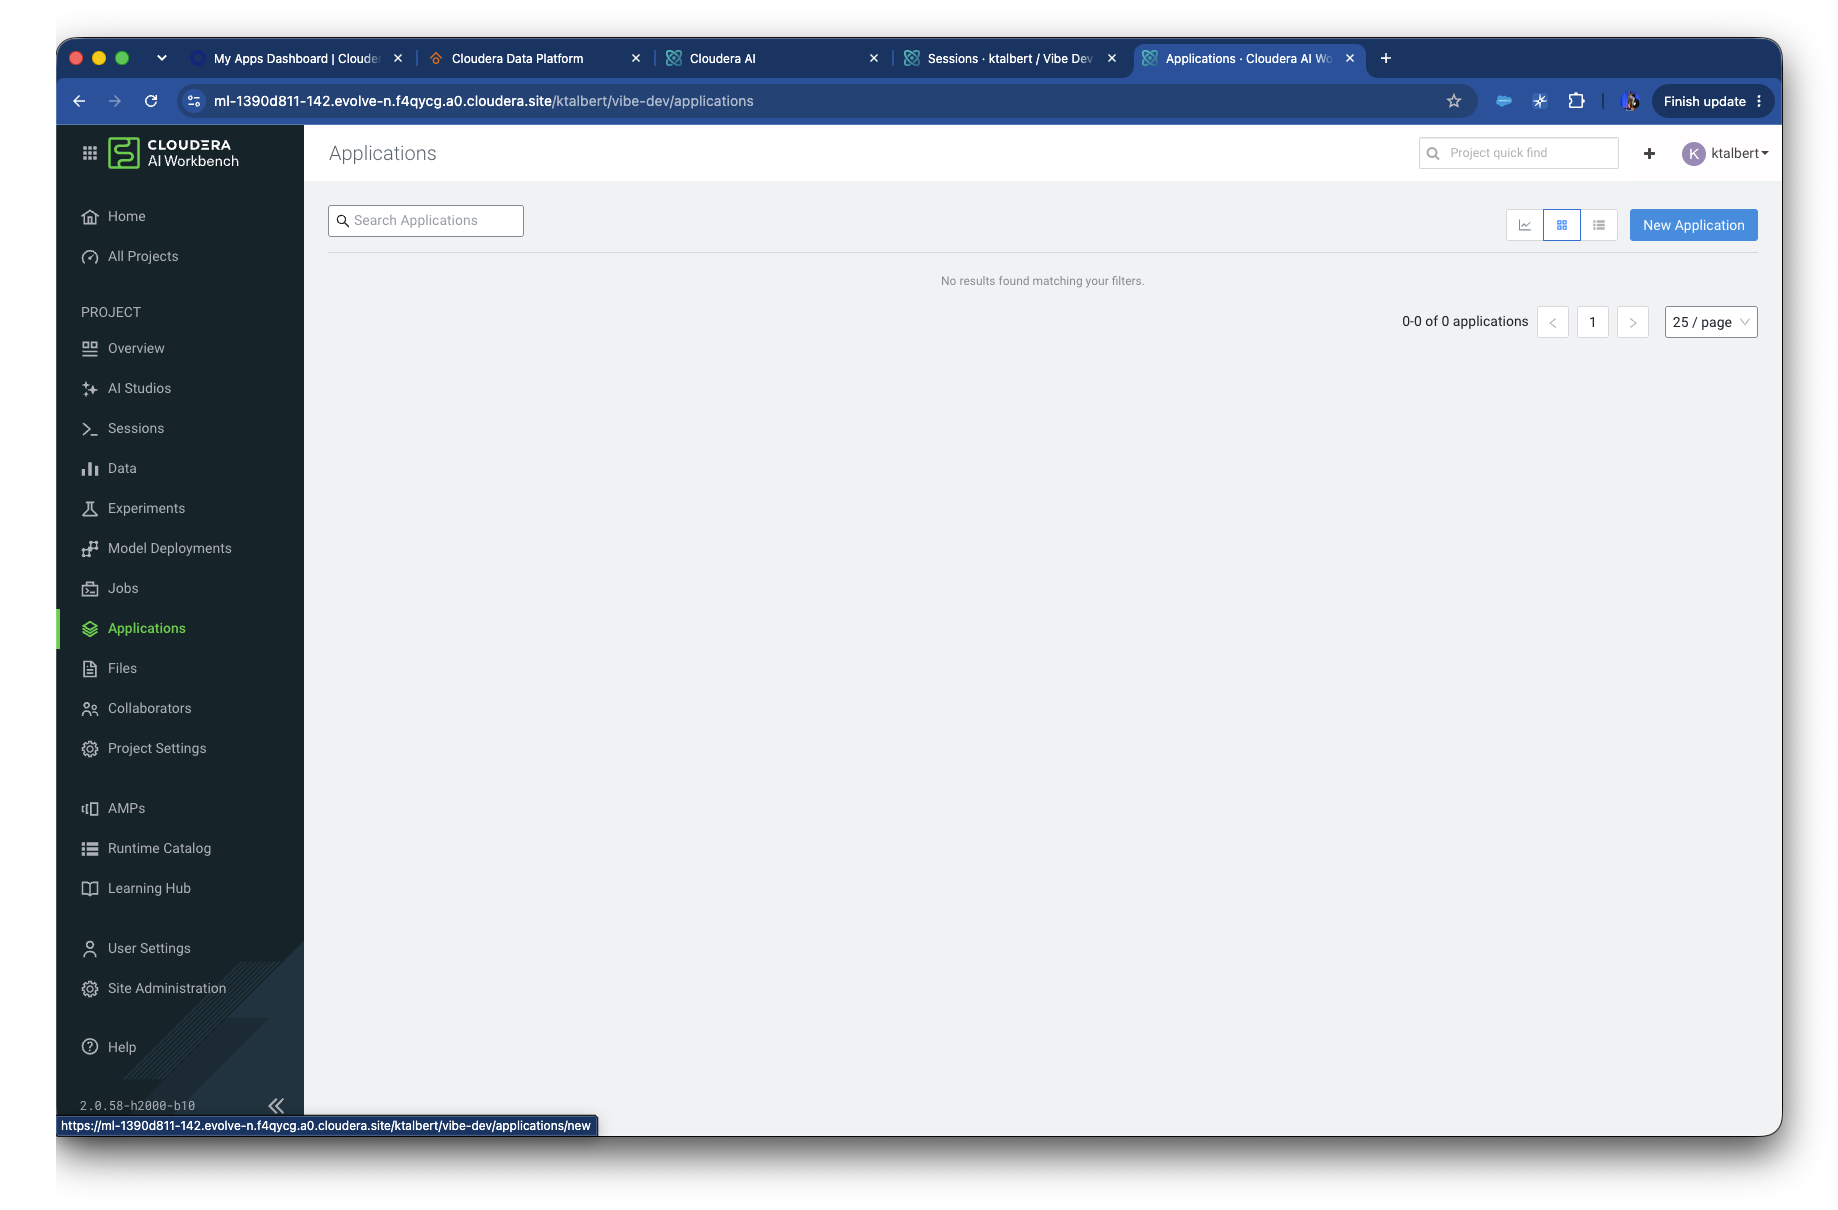
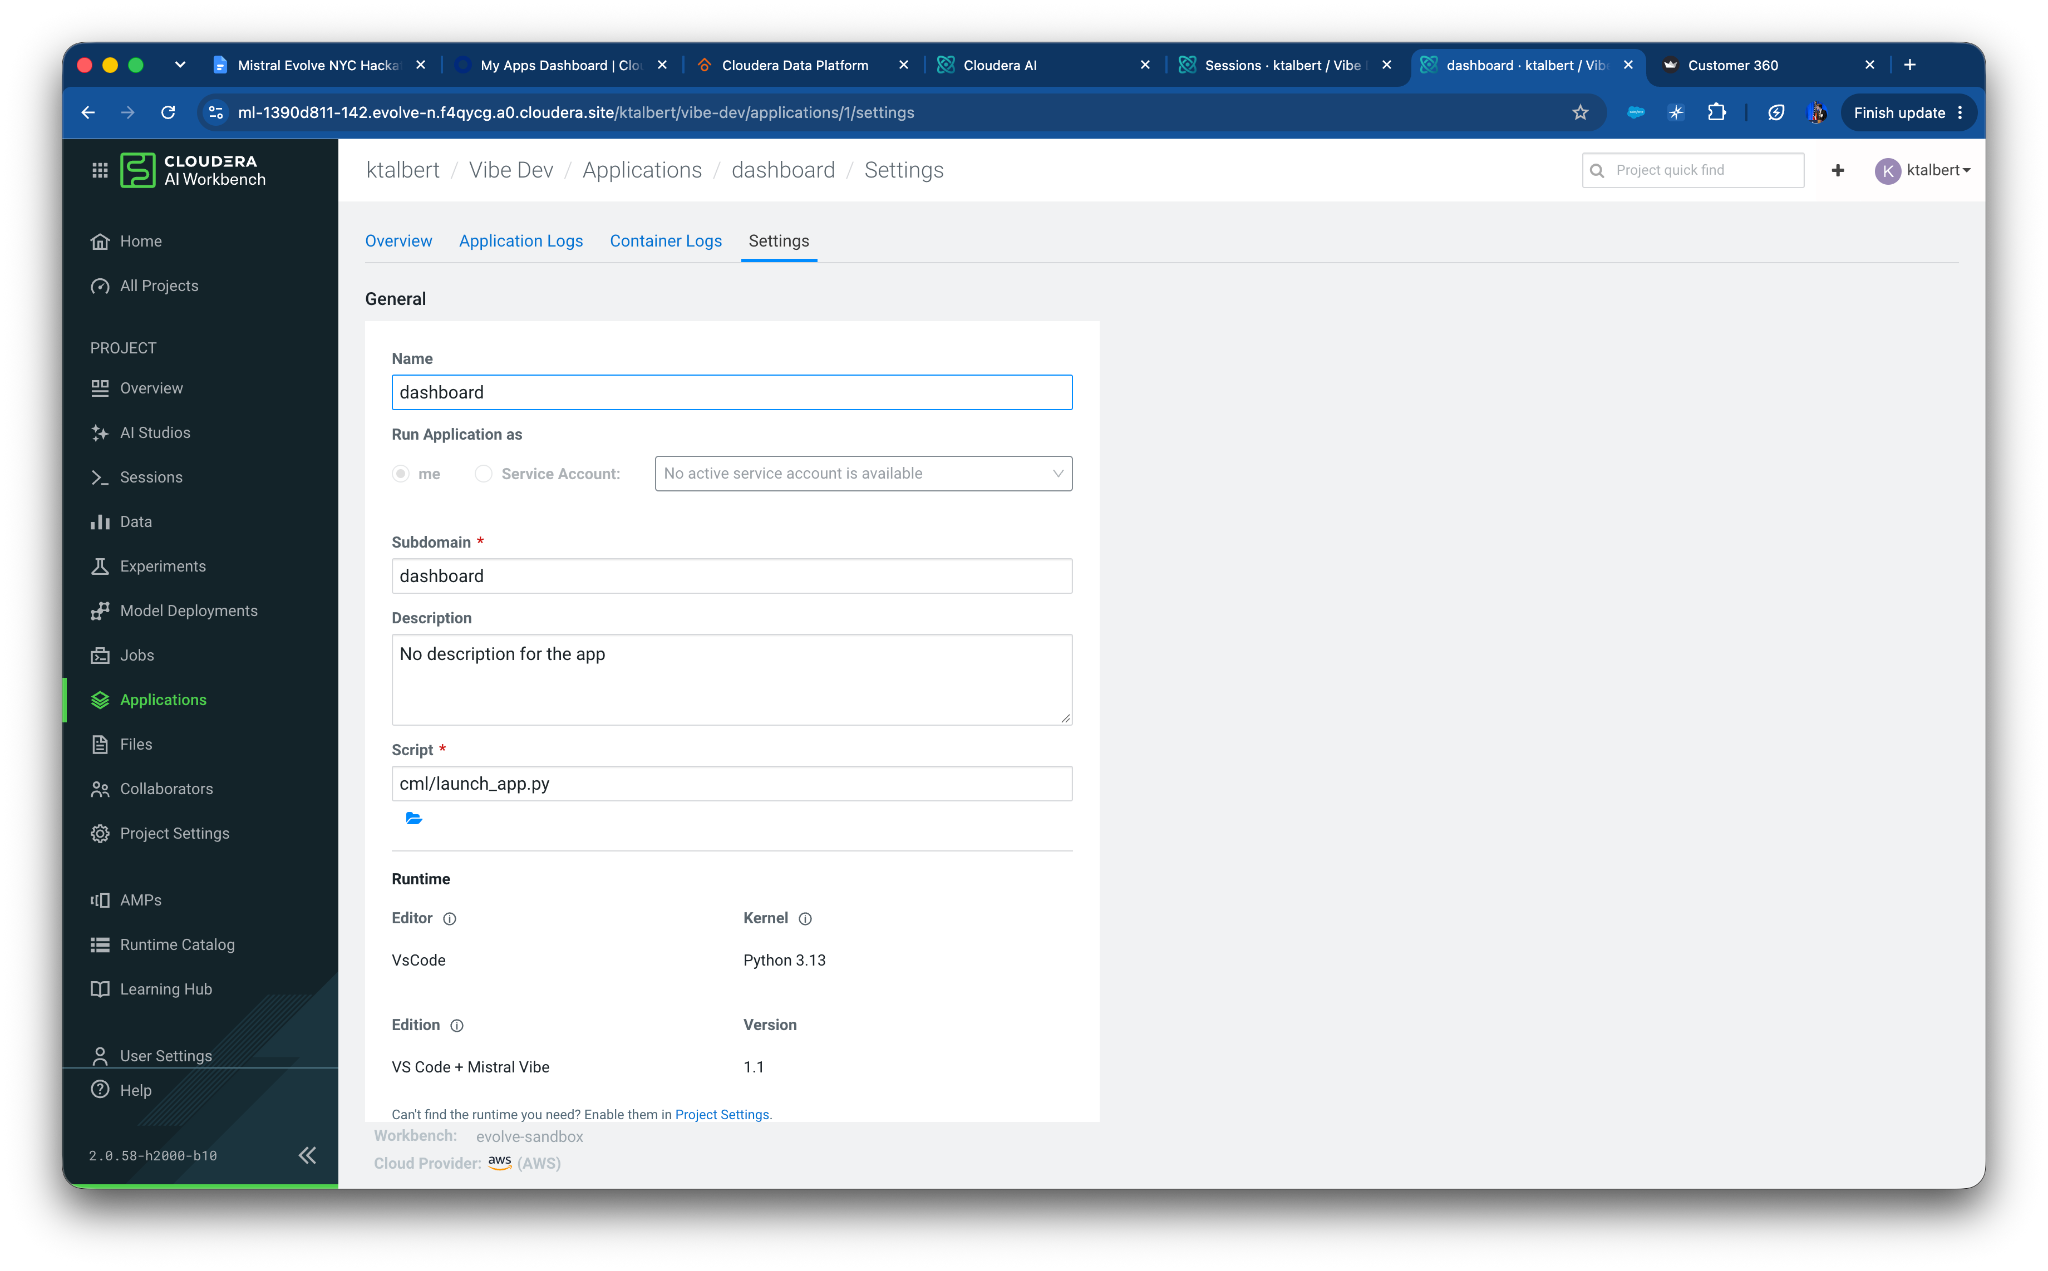
Add the following:
Name: dashboard_yourname
Subdomain: dashboard_yourname
Script: (paste the location of the launch app python script)
Create the application.
Try and build your own or go back and modify this one! Lets see who can make the coolest Dashboard.
This is the example I did:
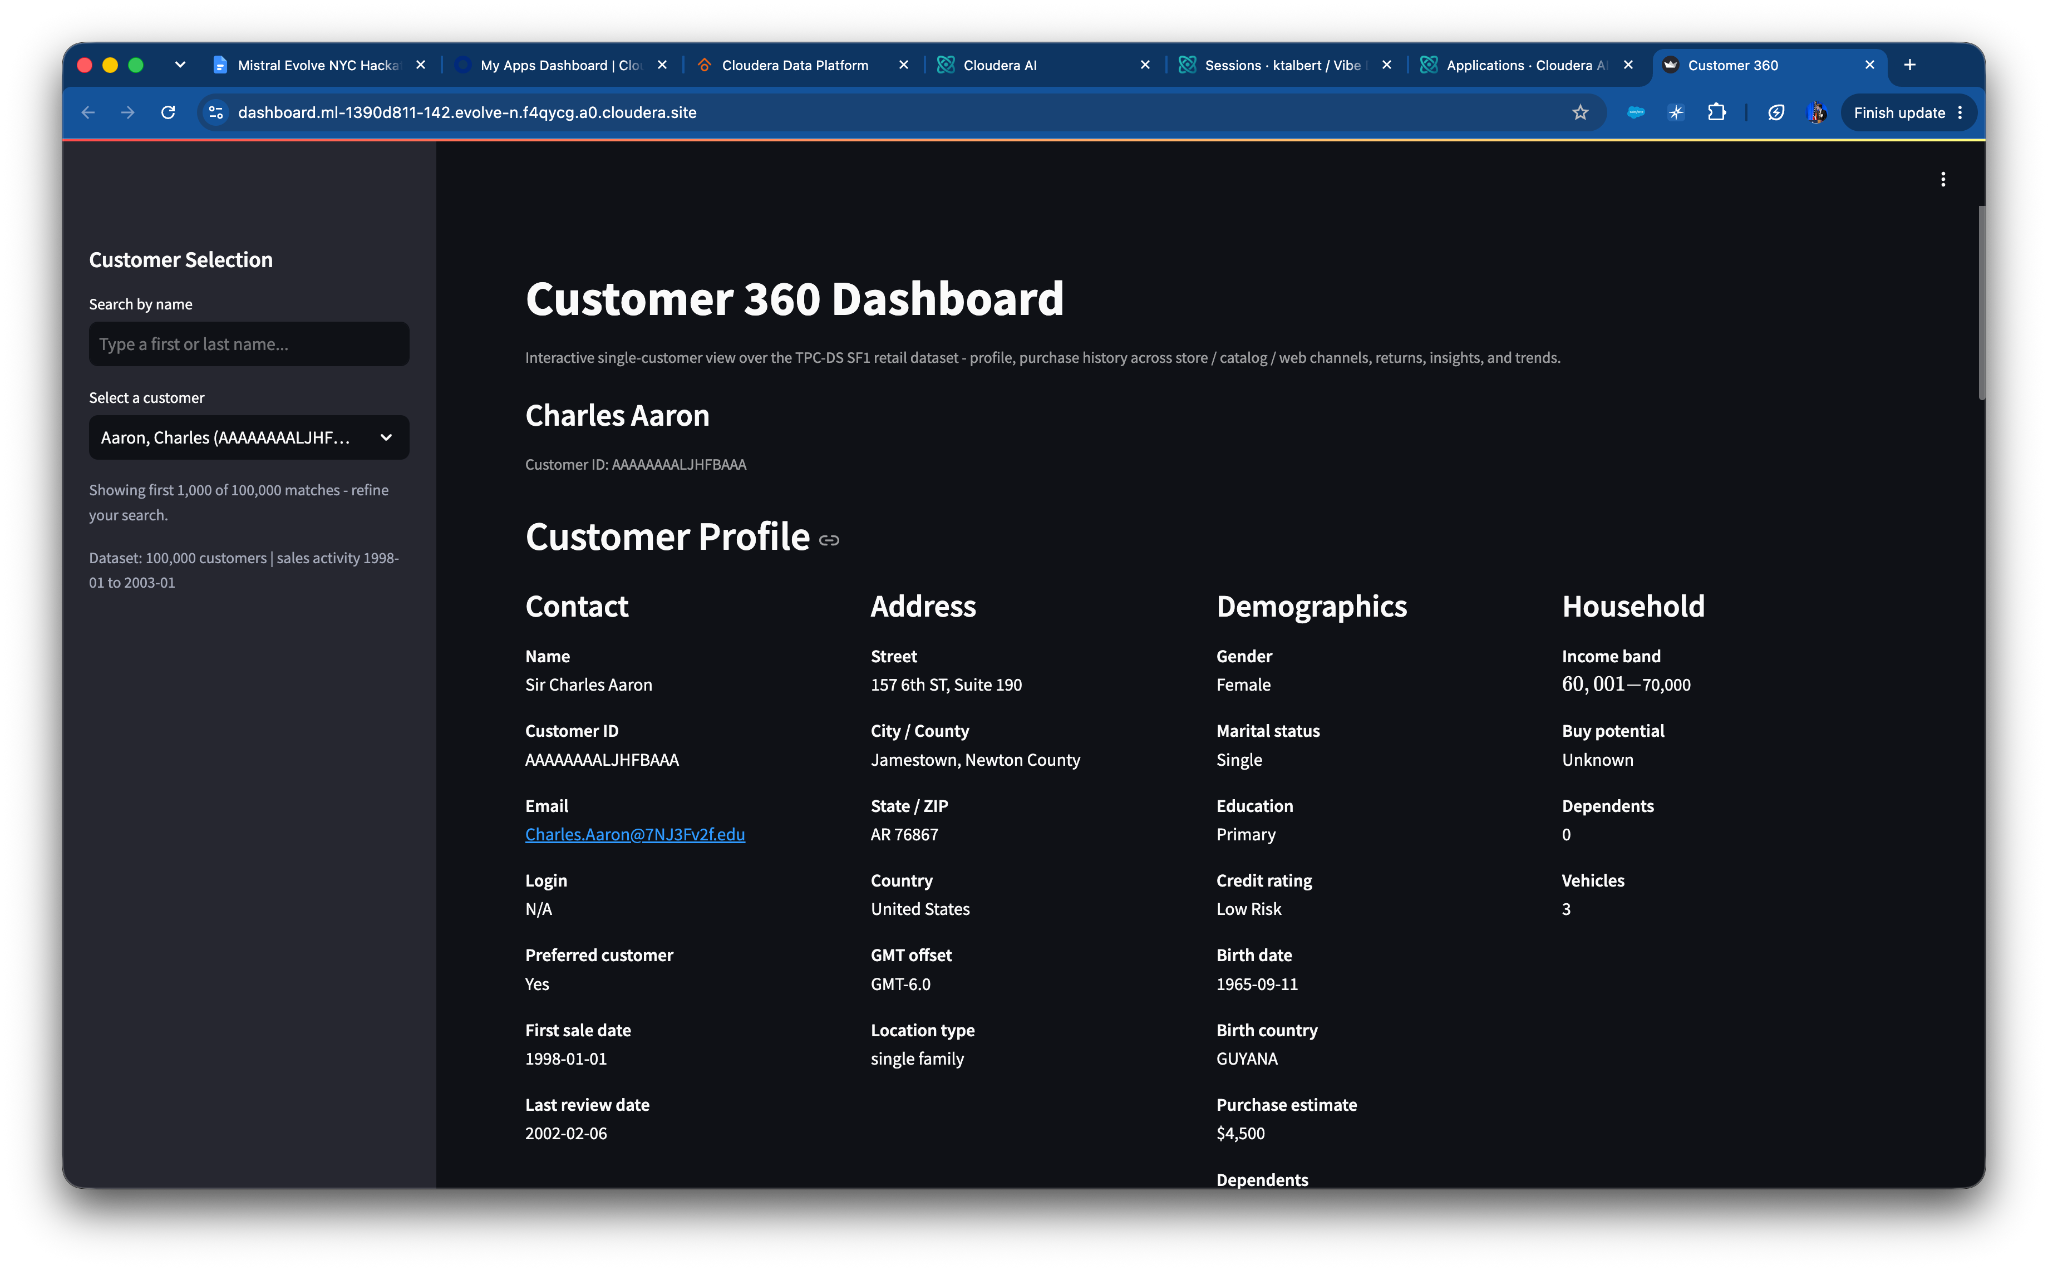
If you encounter any errors, feed them back to the Vibe Chat / Claude to improve the application!
Ideas to consider building (or make up your own!):
-
Bring Your Own Data: Load your own dataset into Cloudera Data Warehouse and build a Streamlit dashboard using live data.
-
Sales Performance Dashboard: Analyze revenue, sales trends, and top-performing products across store, catalog, and web channels.
-
Customer Segmentation Dashboard: Segment customers by spending habits, demographics, purchase frequency, and lifetime value to identify high-value customers.
-
Inventory & Product Analytics Dashboard: Track inventory levels, product performance, stock availability, and potential overstock or stockout risks.